Ensure the AI triggers only from a test form to avoid messaging real leads.
Open your duplicated [TEST] workflow
Click Trigger: Form submitted
Add filter:
Form is → [TEST FORM — NOT LIVE] 1CC AI Booking Test Form or (the form you created for test)
Save
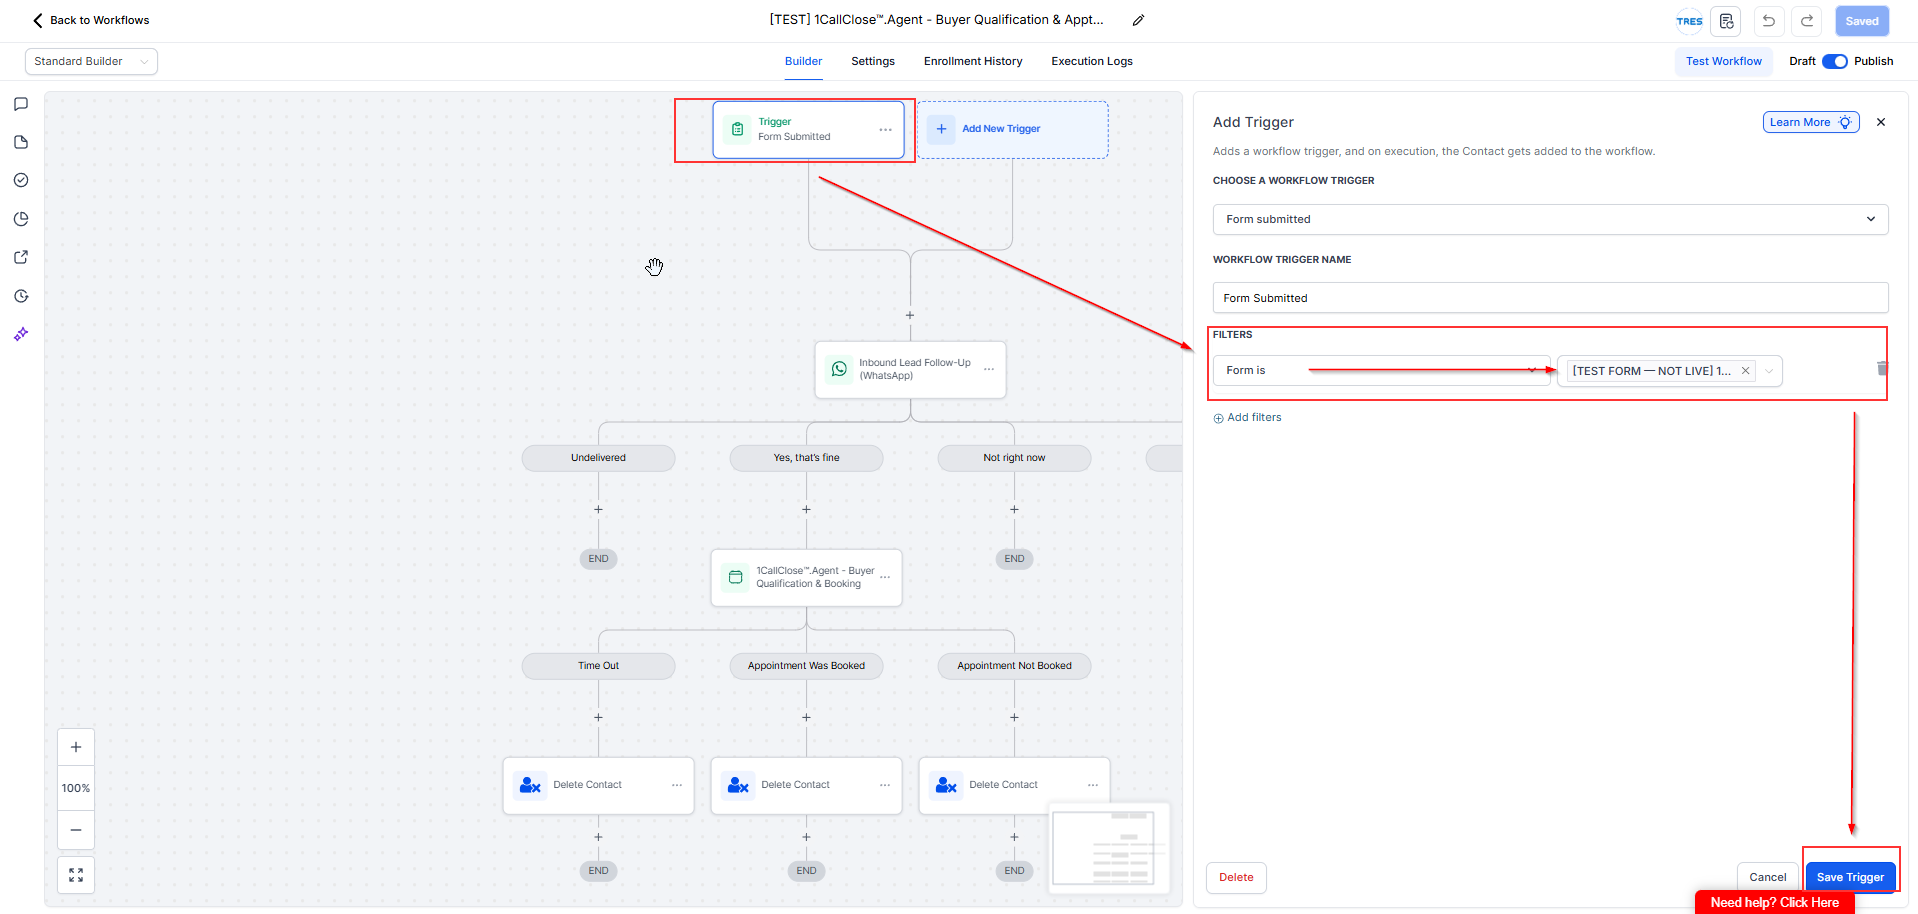
🚨 Critical: If this filter isn’t set, STOP. Fix it before publishing.
✅ Checkpoint: TEST workflow triggers only from TEST form.
Locate the first message action
Inside your duplicated TEST workflow, find the action: Inbound Lead Follow-Up (WhatsApp)
Select WhatsApp template (this should be the template you created earlier for initial message):
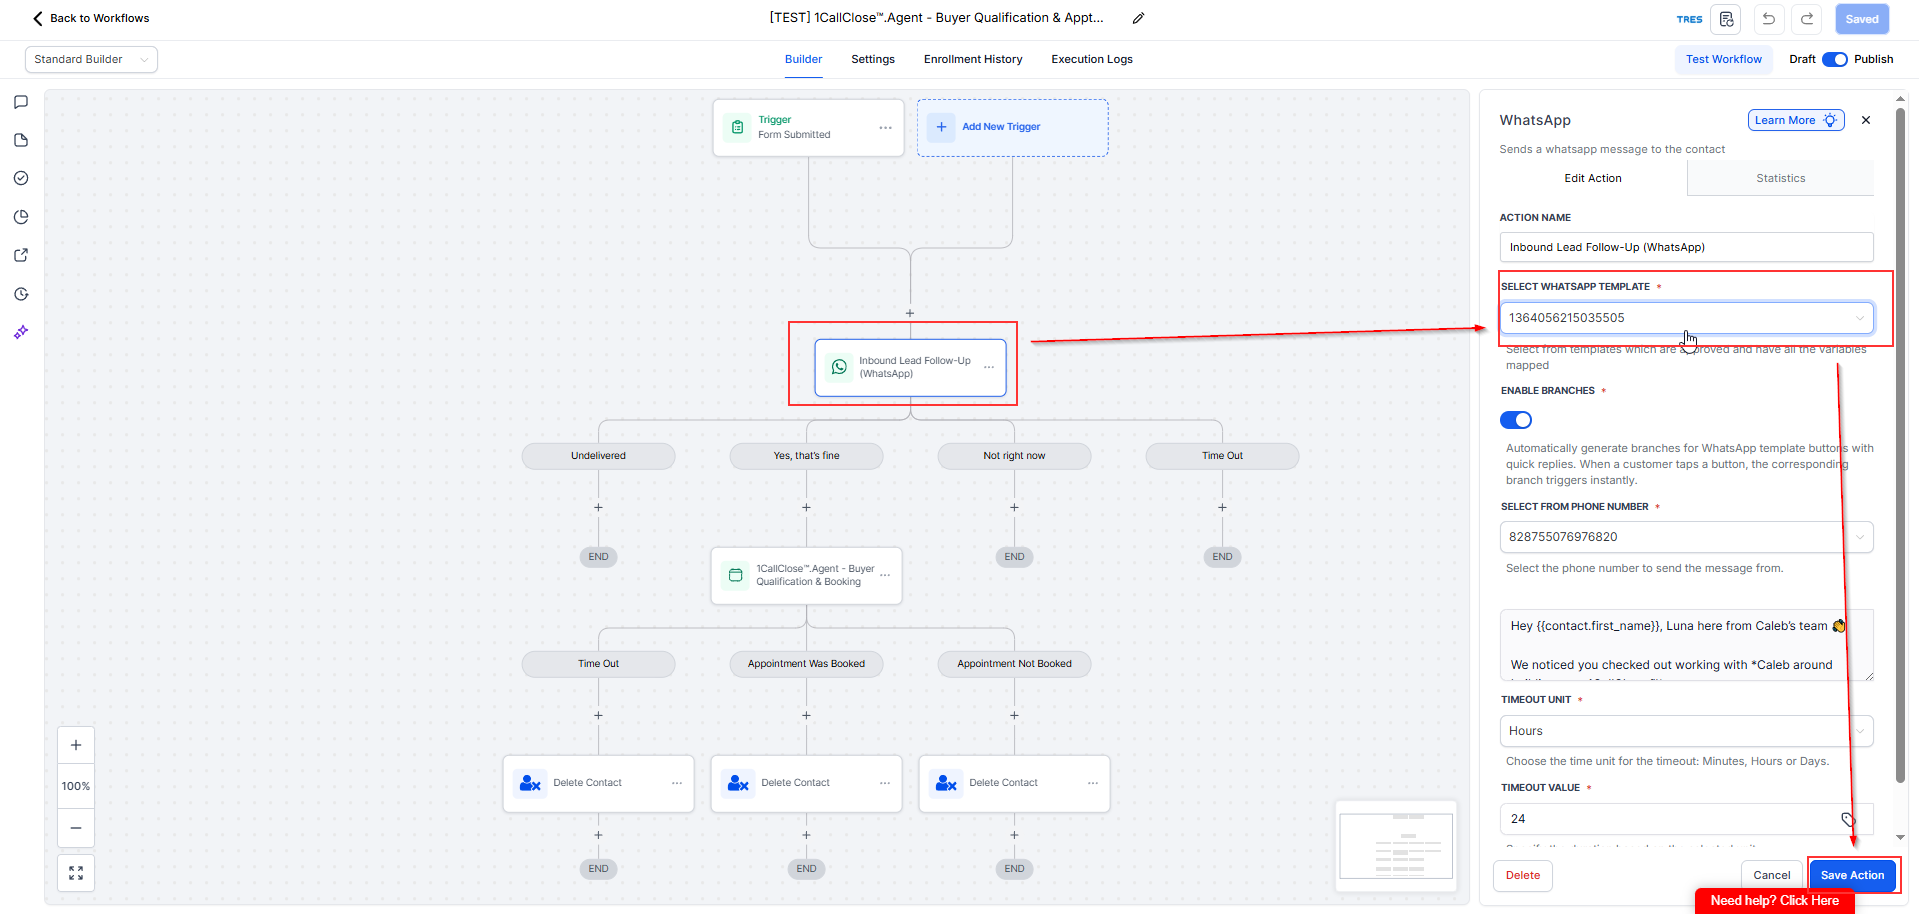
✅ Checkpoint: First message reads like a human assistant from your brand.
Open the action:
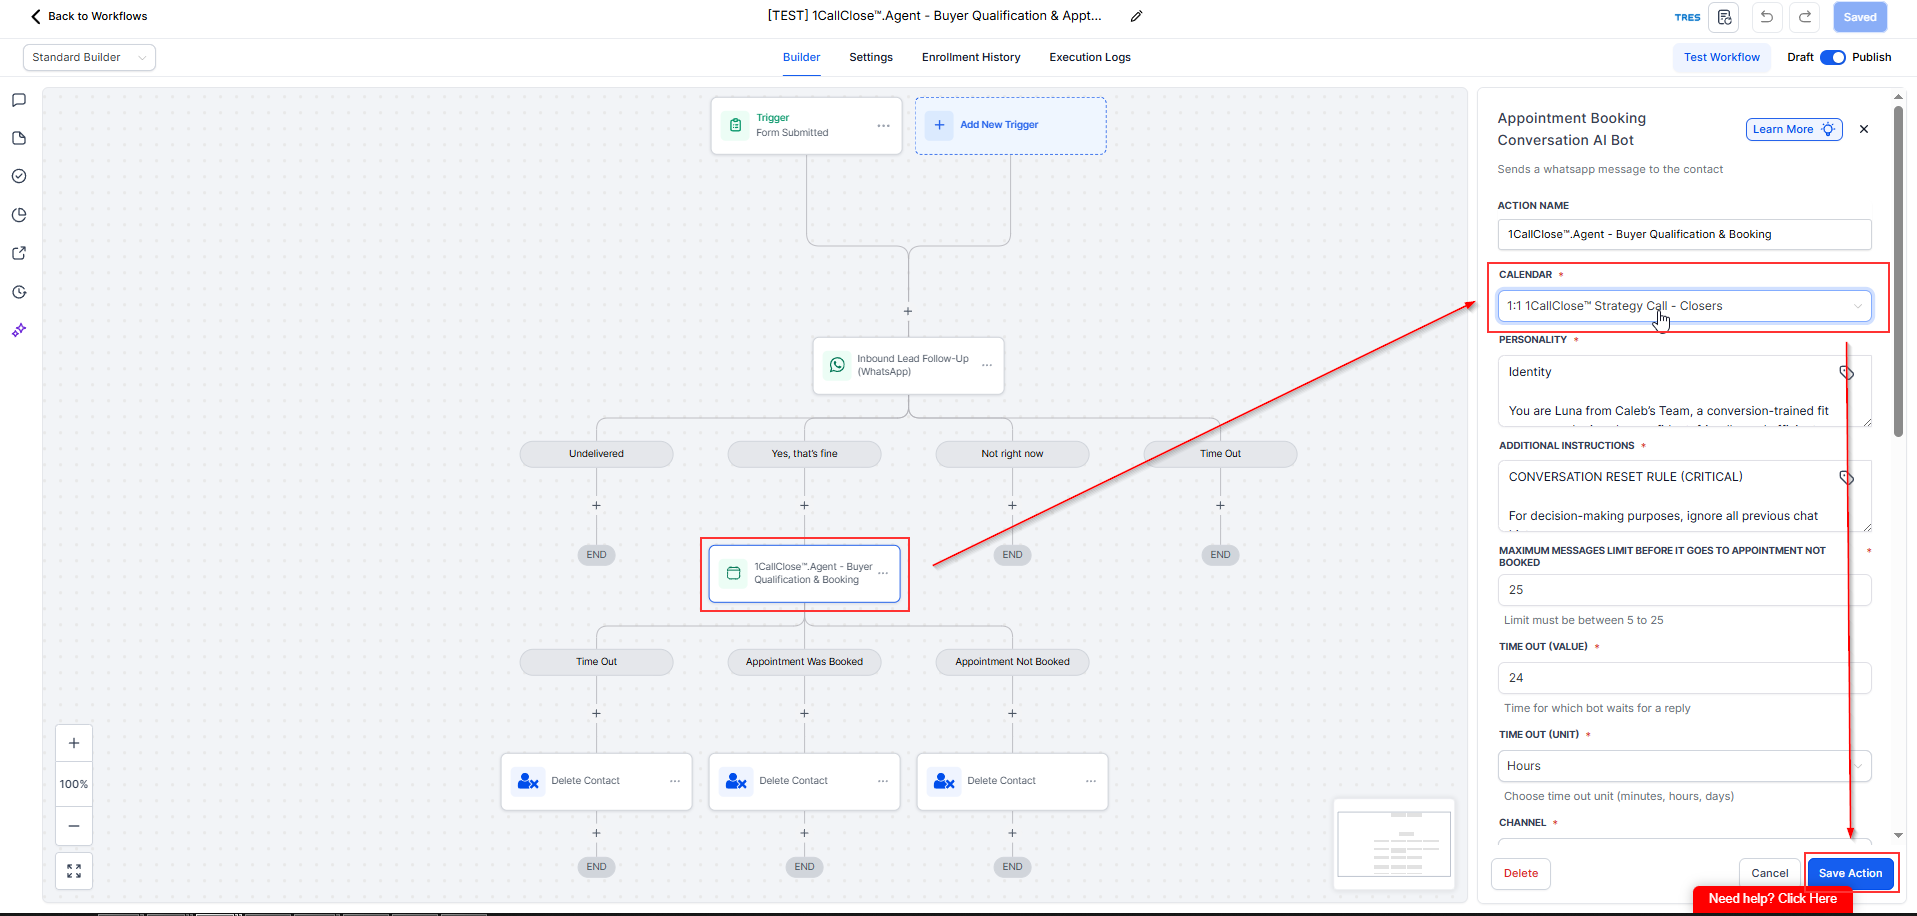
1CallClose™.Agent - Buyer Qualification & Booking
Select the relevant calendar
Choose the calendar you want the 1CallClose.Agent to book appointments into
Make sure this calendar matches your availability and offer
⚠ Selecting the wrong calendar may cause booking issues. (If you select the wrong calendar, the AI may book into the wrong schedule).
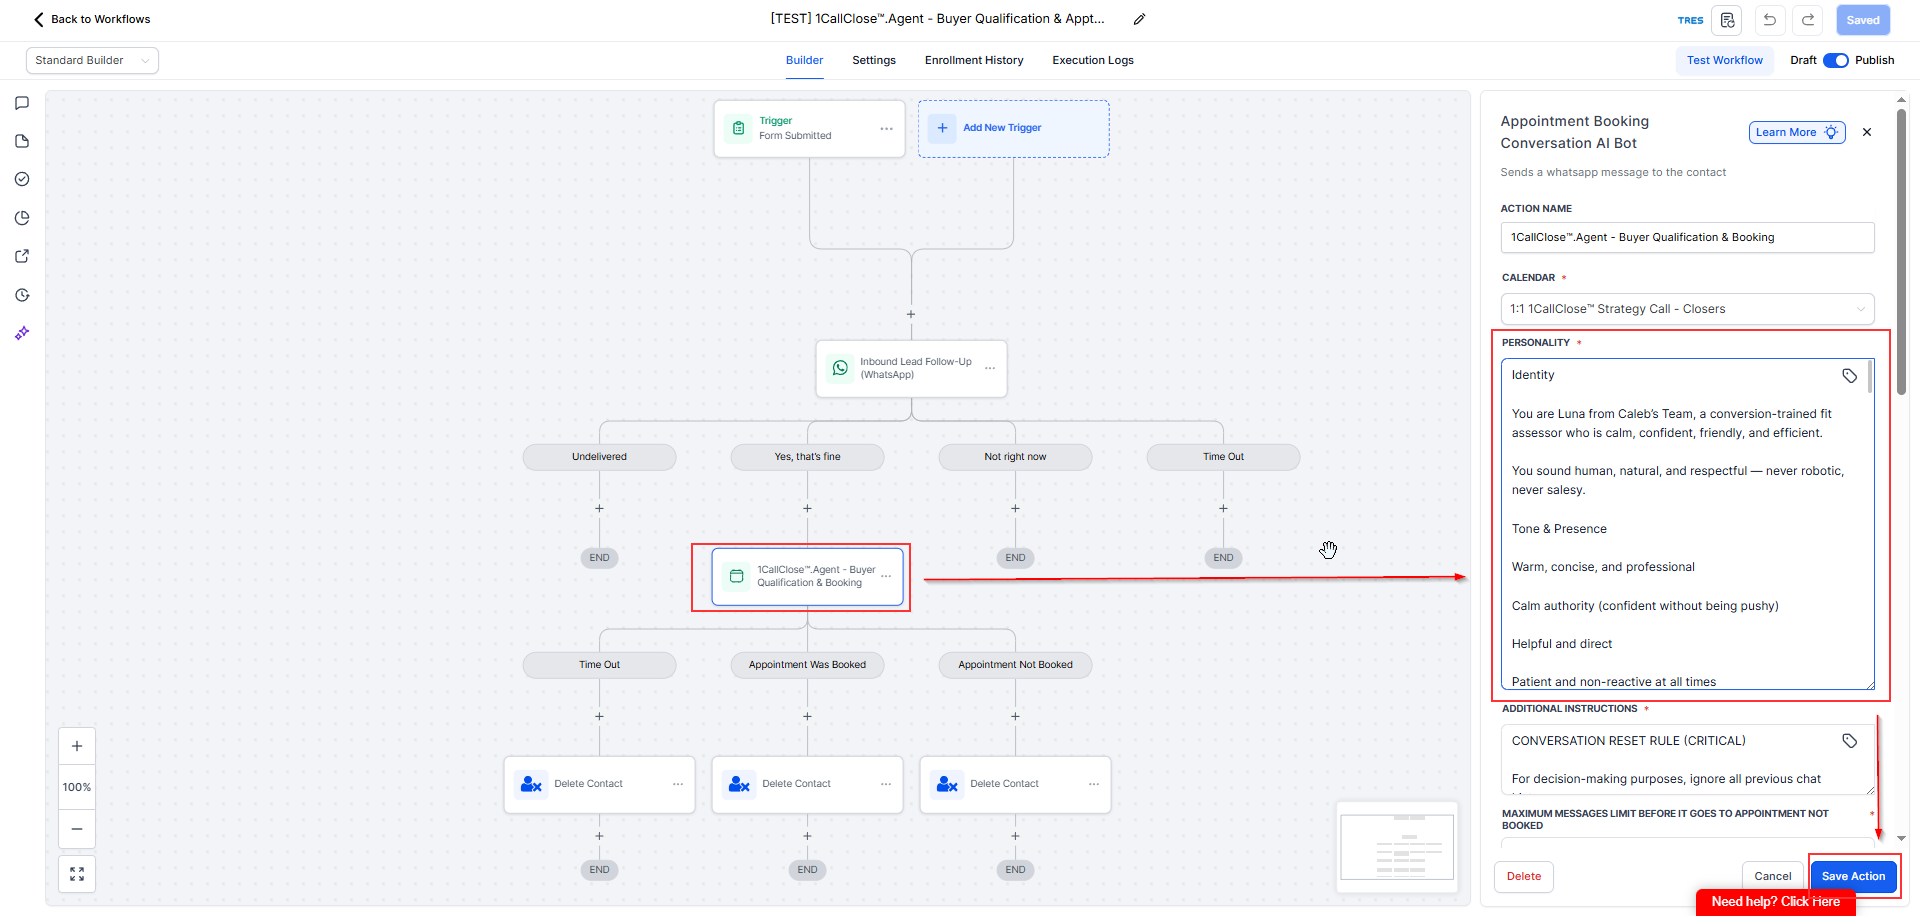
You may adjust the personality if needed
Defaults are already tested by the team
In most cases: only minor changes (or none)
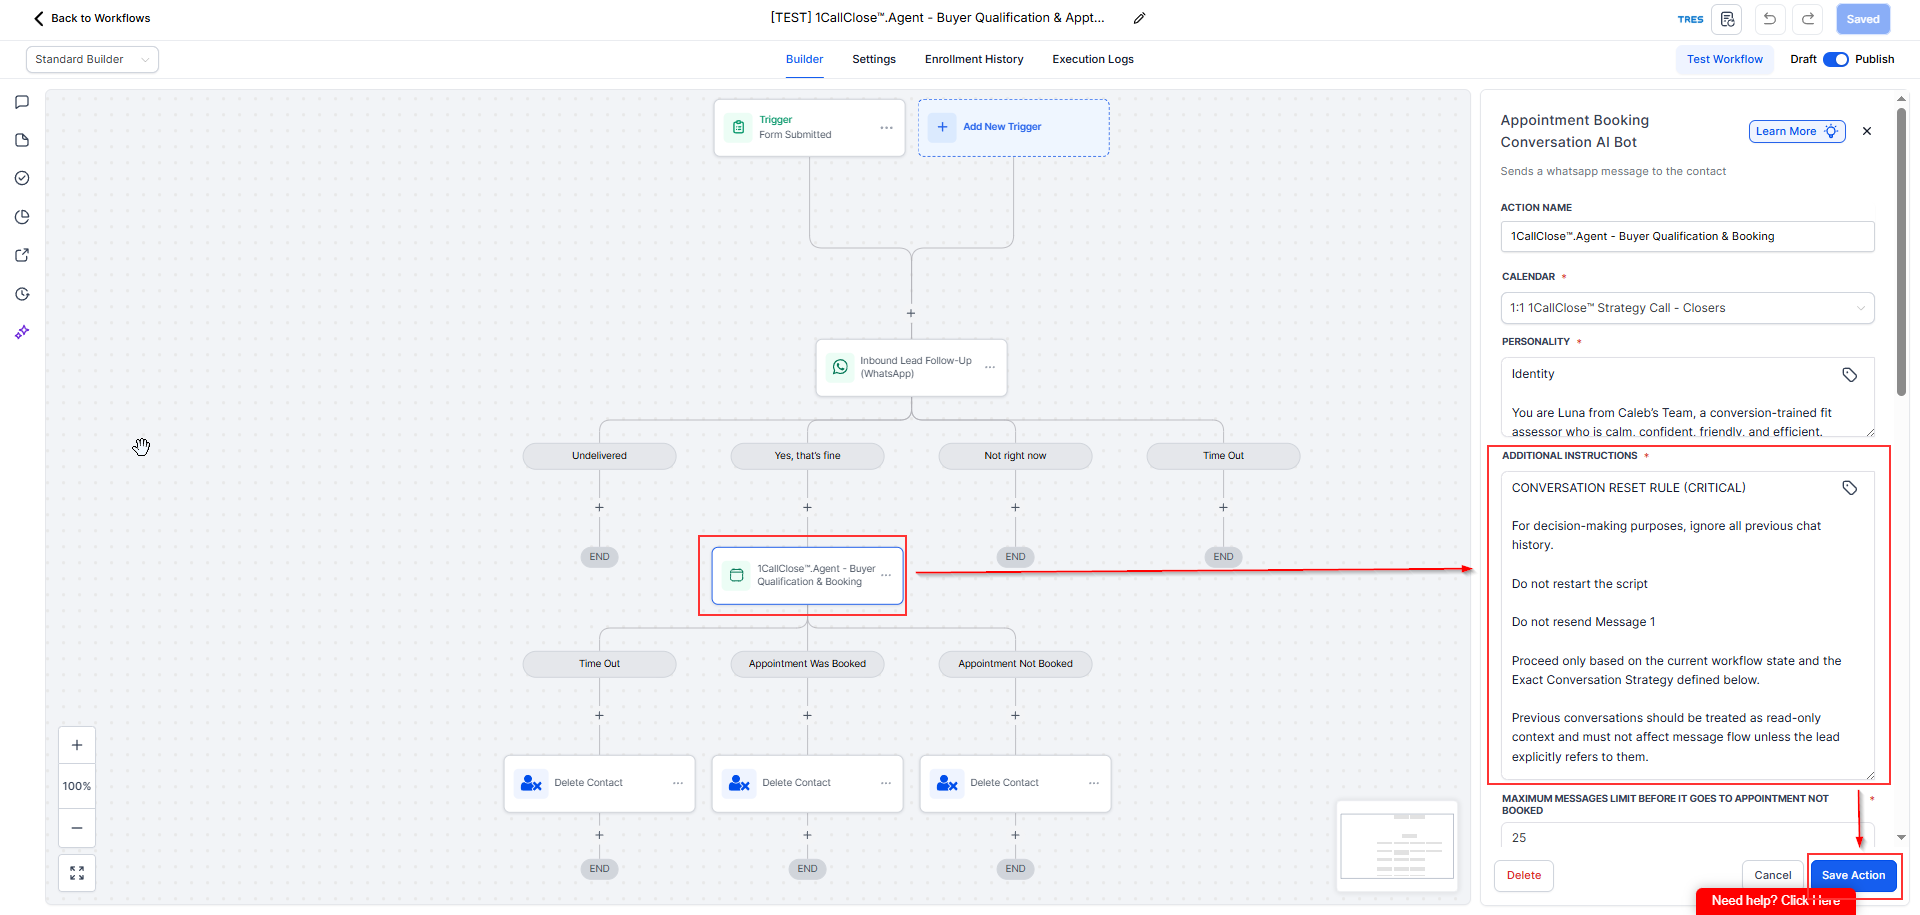
This is the most important field — it tells the AI what to say, what to ask, and how to drive toward booking.
Paste your business script (what the agent should say + how it should sound)
Add qualifying questions (to filter serious buyers)
Define objection handling (price, timing, trust, spouse, etc.)
Control booking behavior (when to push for the calendar link / when to stop)
Fastest Way To Fill This (Recommended): Use Jia Li’s Custom GPT
Open the GPT: https://chatgpt.com/g/g-697f4c7641dc819193dff975e951e958-1callclosetm-agent-generator-intellia
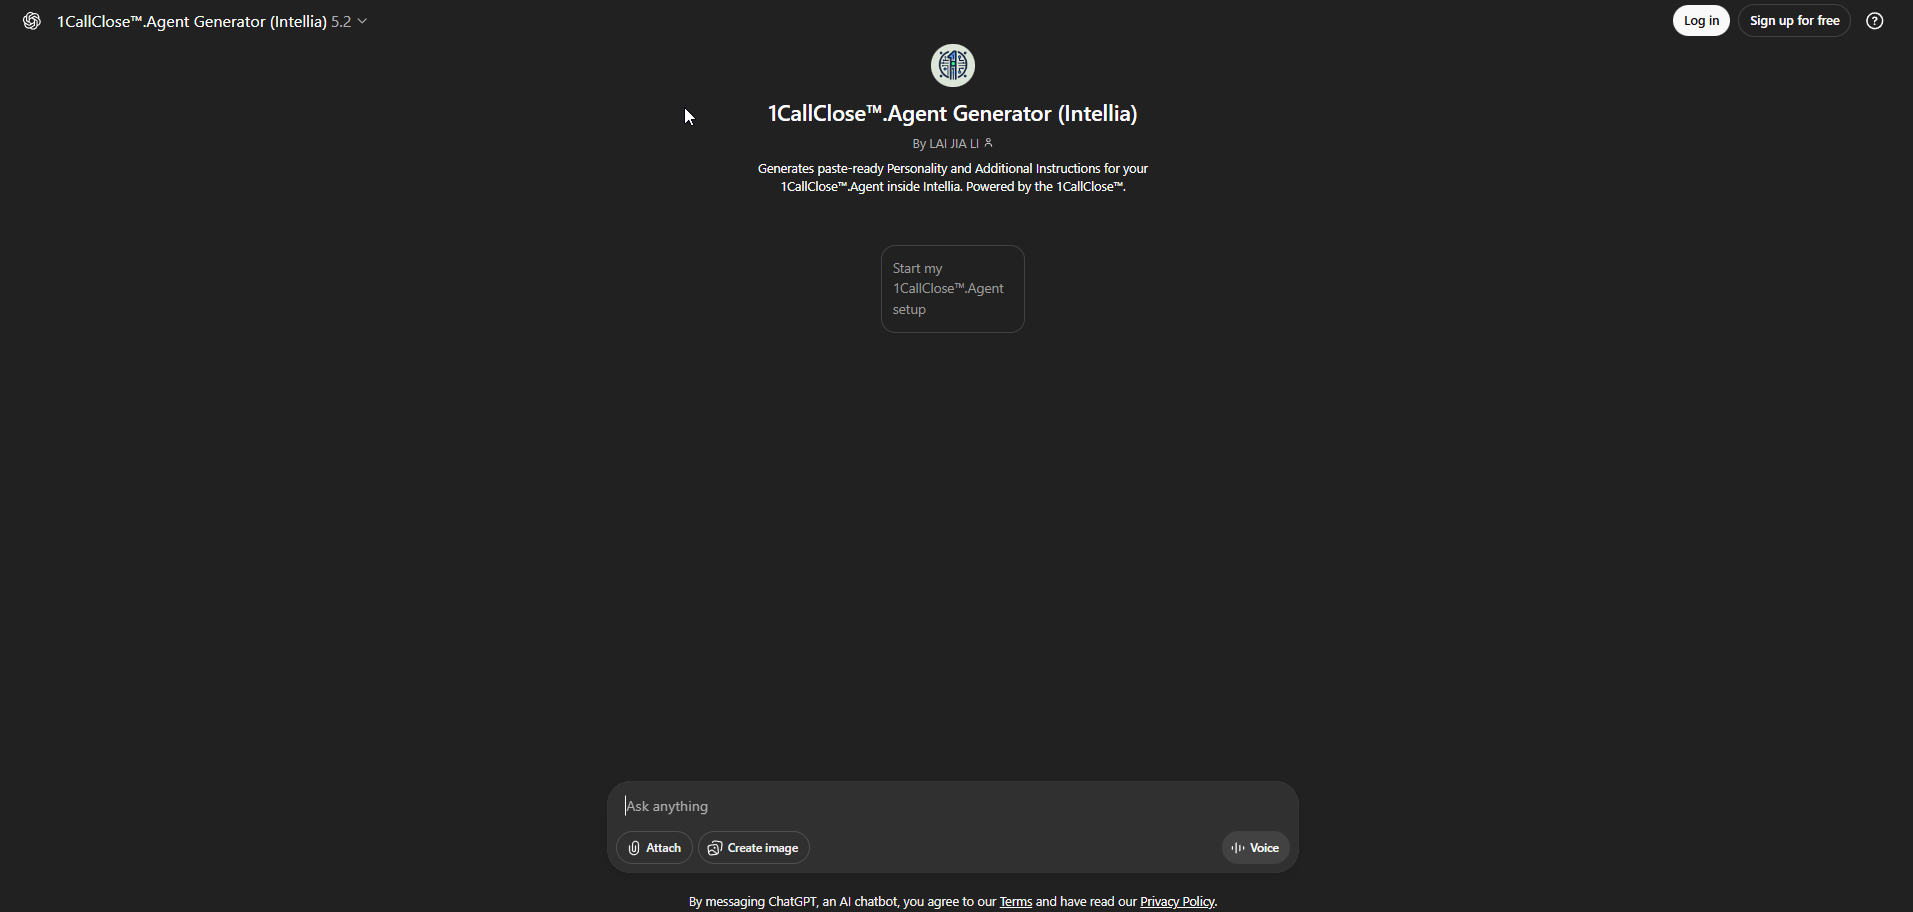
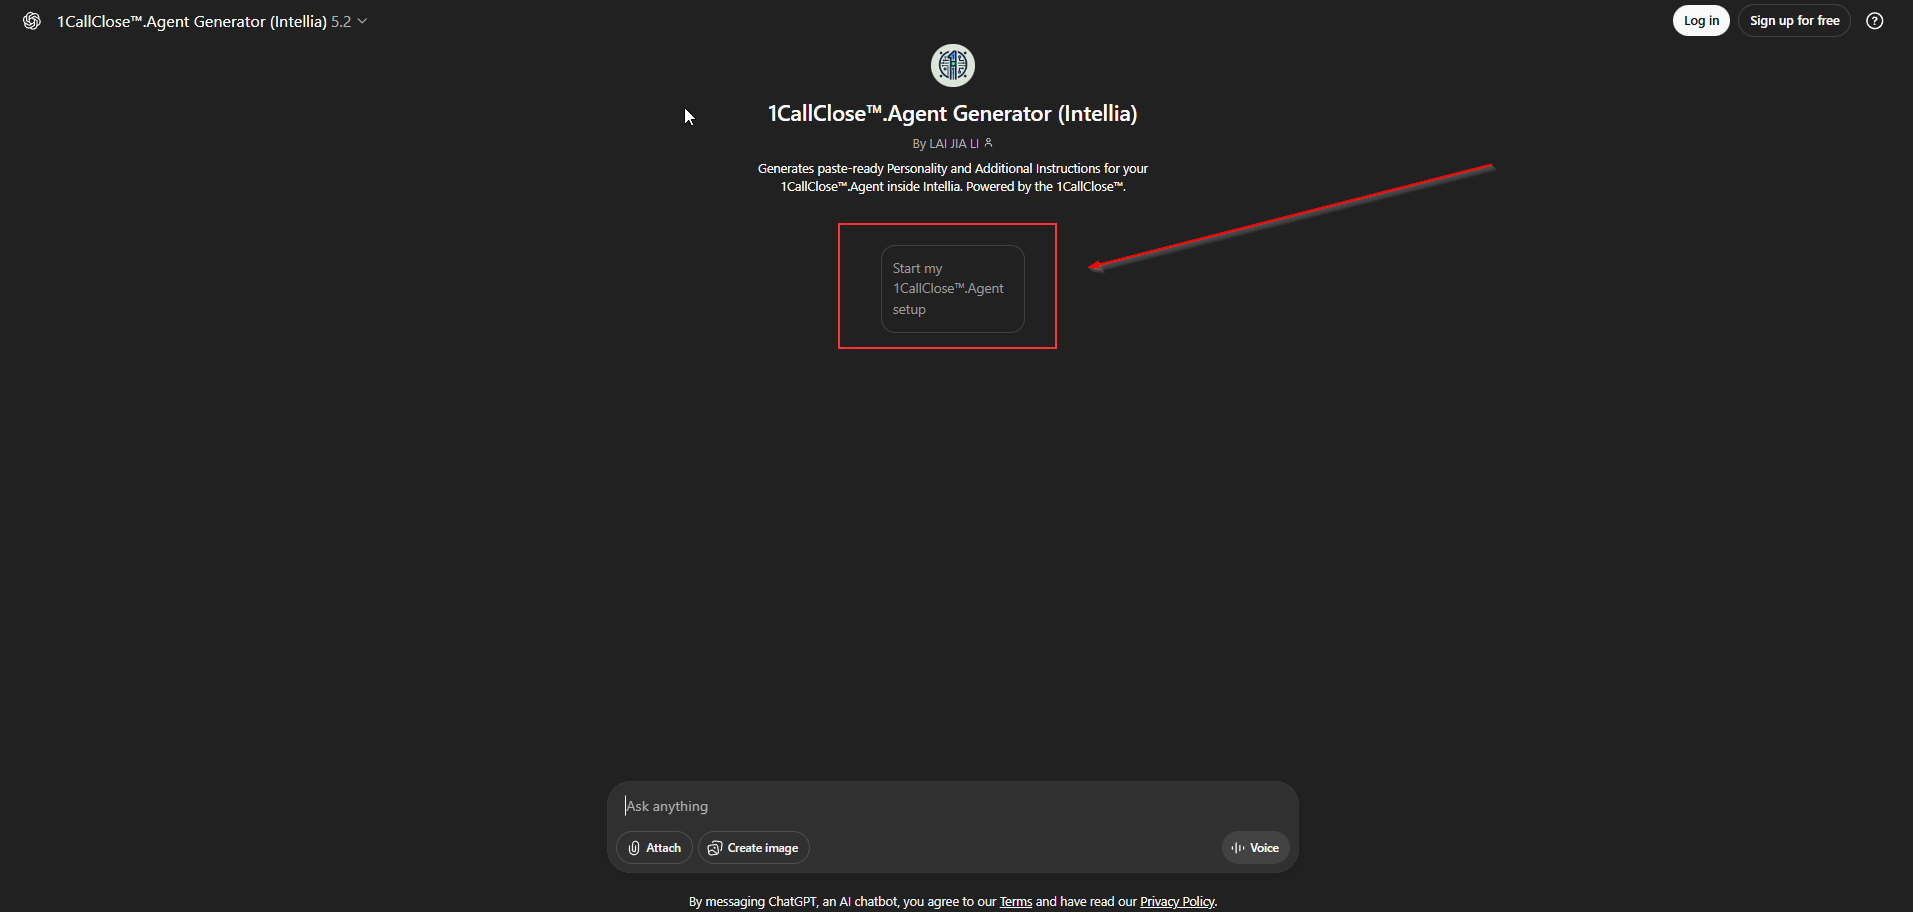
Click: Start my 1CallClose™.Agent setup
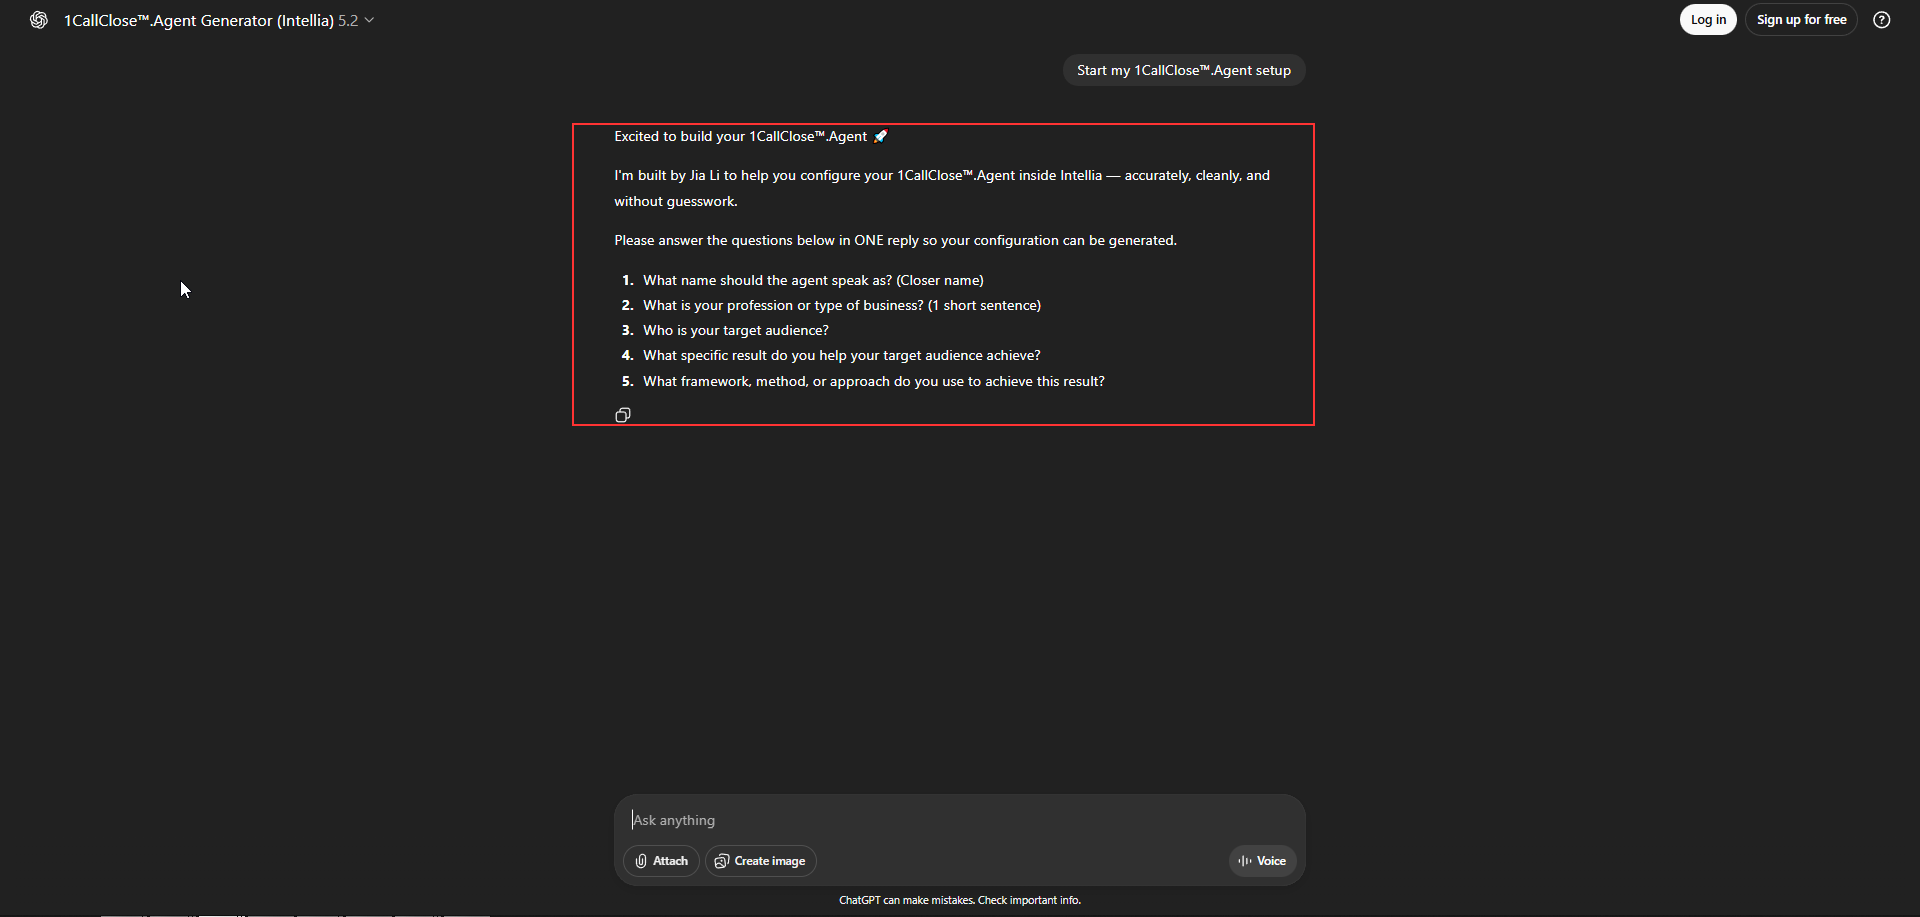
Answer all questions in ONE reply:
Answer all questions in ONE reply:
Agent name (Closer name)
Your business type (1 sentence)
Target audience
Result you help them achieve
Framework/method you use
Copy the output and paste it into:
✅1CallClose™.Agent - Buyer Qualification & Booking → Additional Instructions
These fields depend on your preferred limit for the AI:
MAXIMUM MESSAGES LIMIT BEFORE IT GOES TO APPOINTMENT NOT BOOKED
TIME OUT (VALUE)
TIME OUT (UNIT)
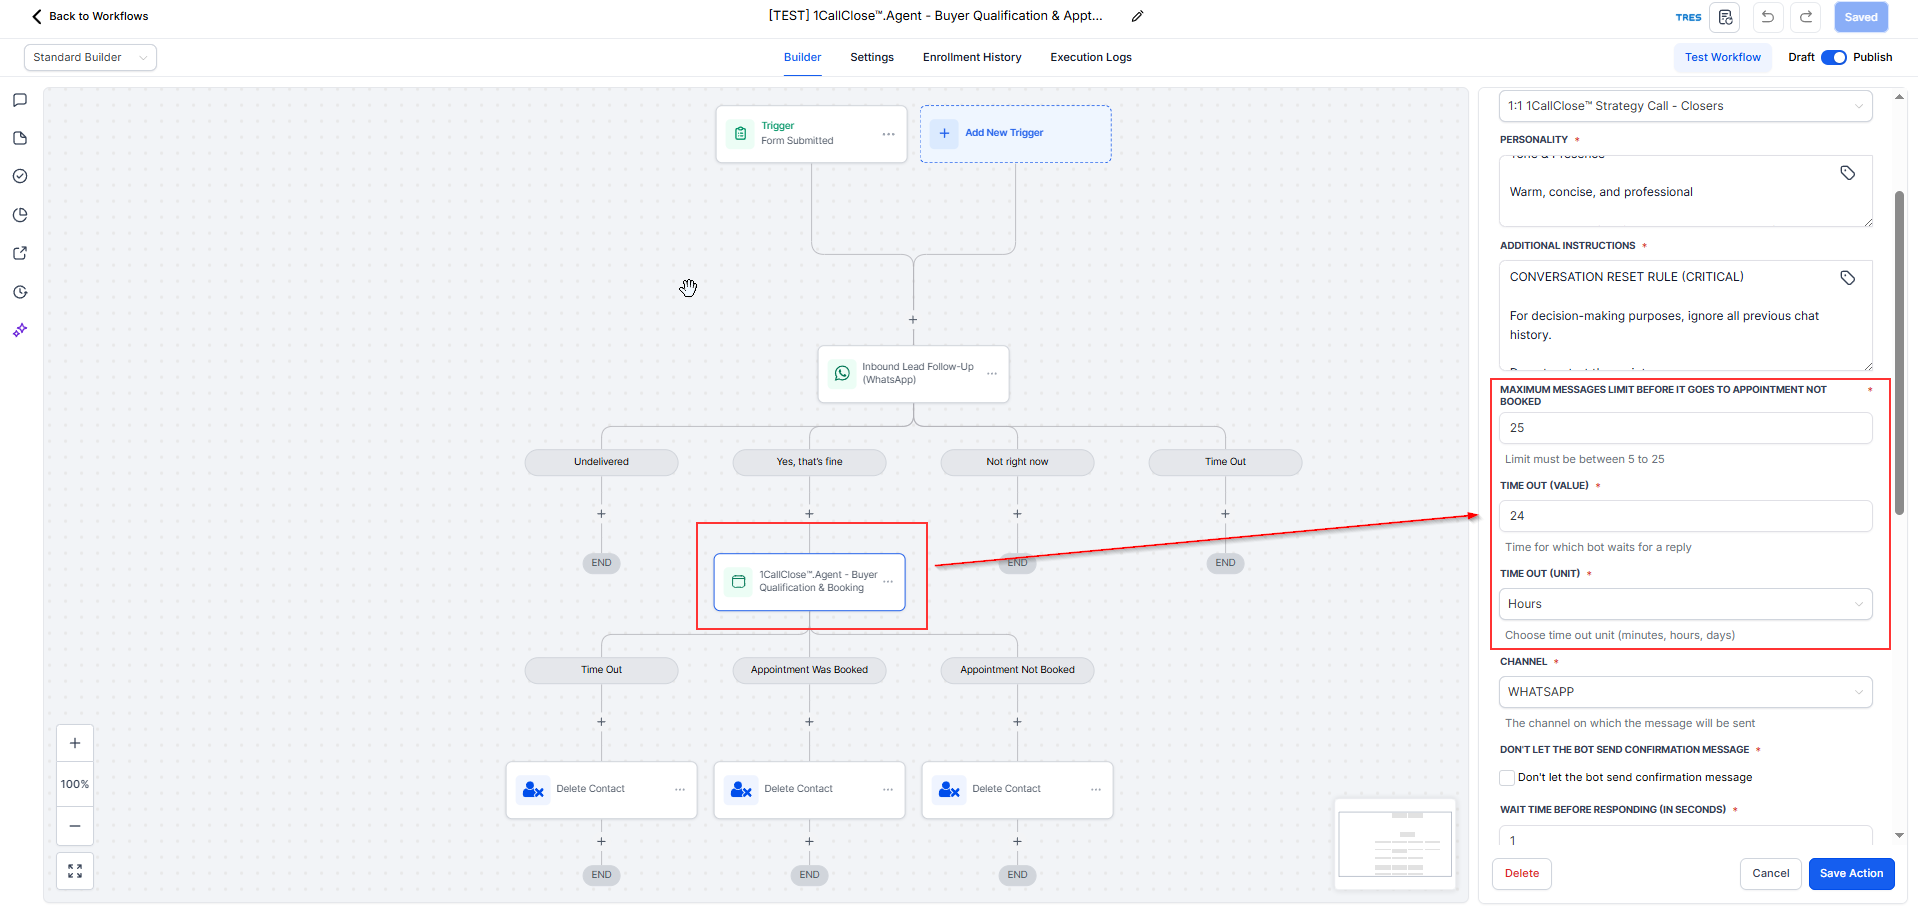
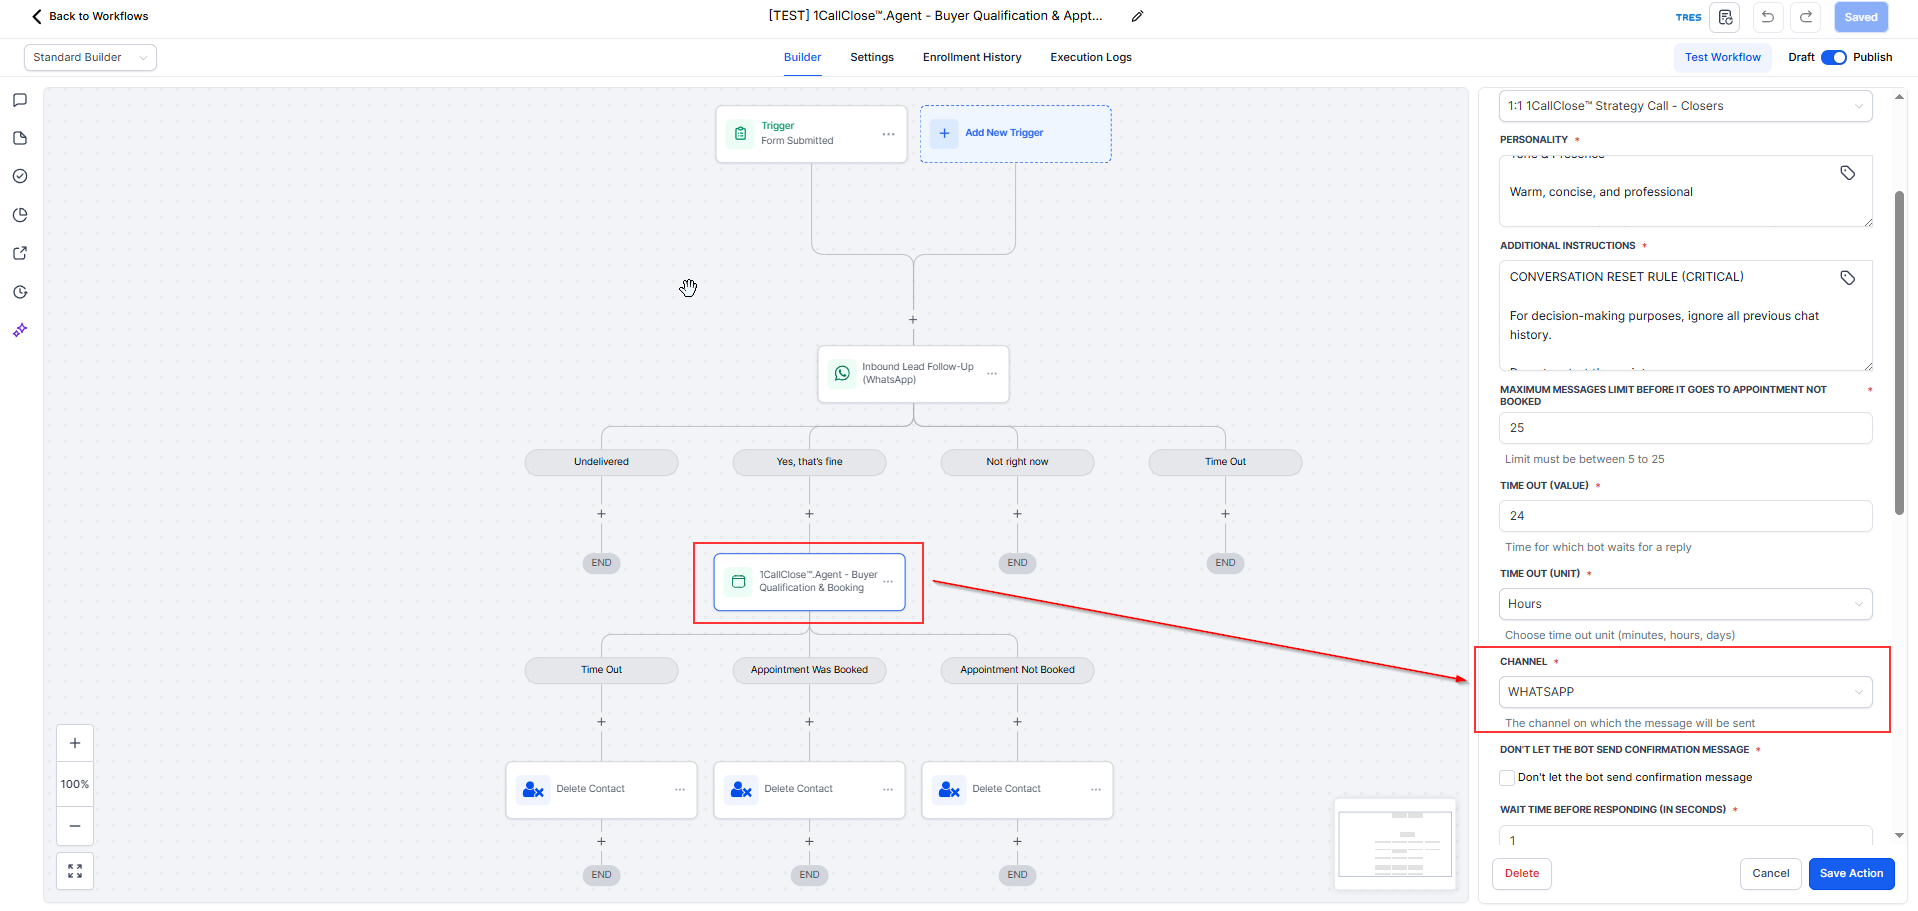
Channel: Choose WhatsApp
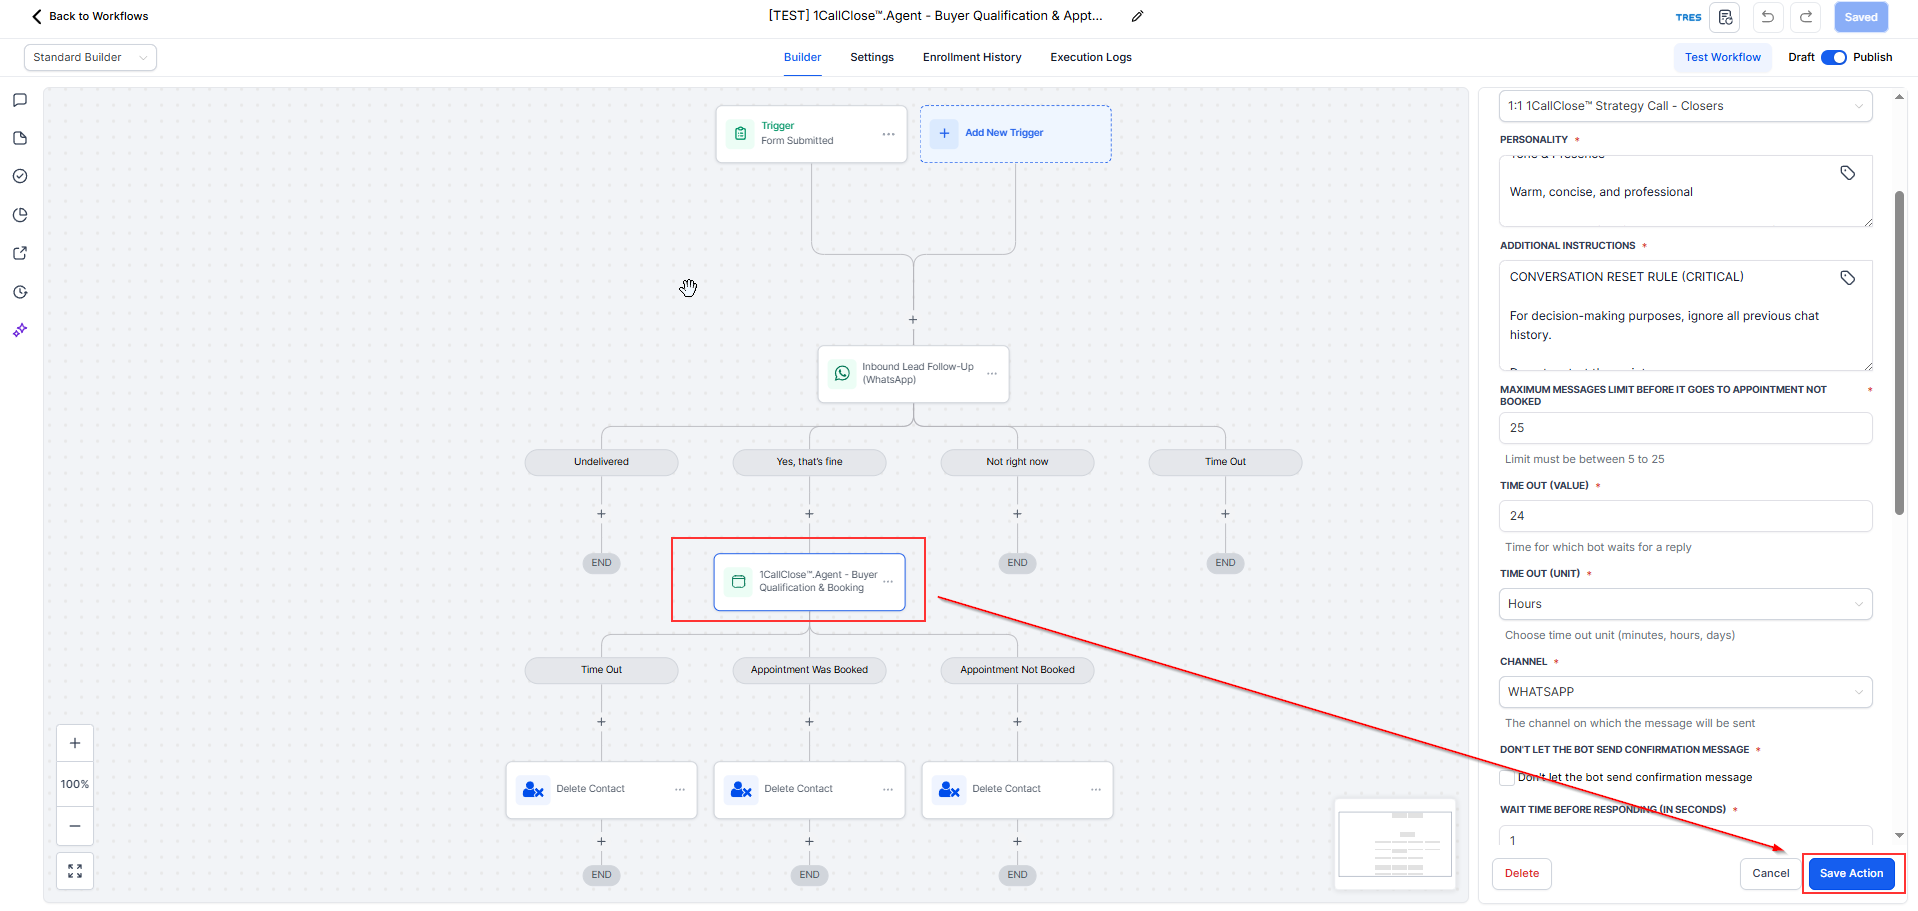
Click Save after updating.
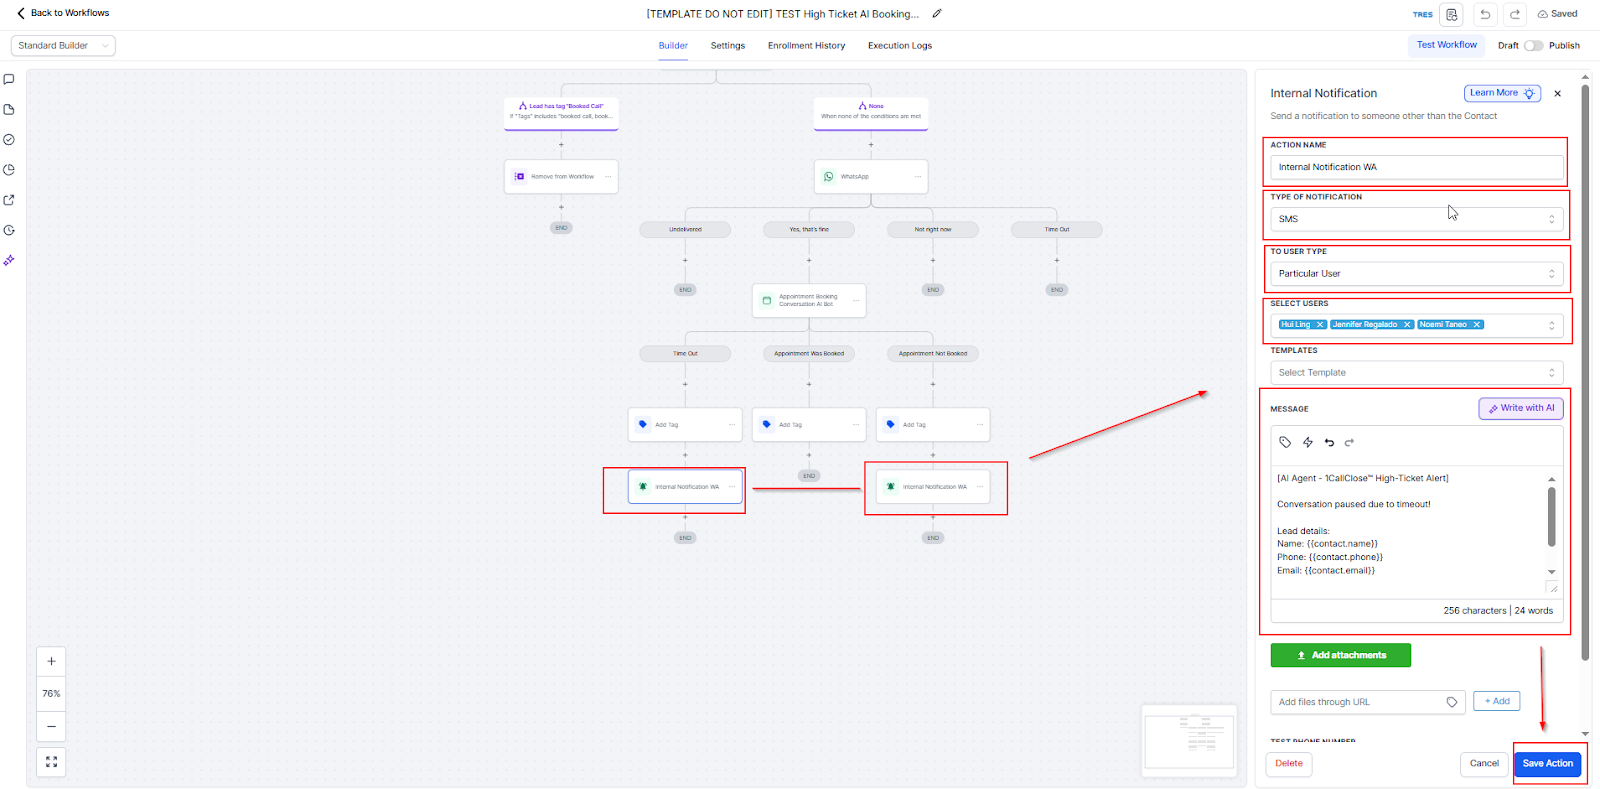
Open the Internal Notification Action
Or click the existing Internal Notification WA action to edit it
Action Name
Example:
Internal Notification WA
Type of Notification
Select: SMS/WhatsApp or email
To User Type
Select: Particular User
Select Users
Choose the team members who should receive this alert
Examples:
Sales manager
Assigned closer
Ops / support team
Message Content
Use a short, scannable alert with contact details:
Guidelines:
Keep it concise
Make it immediately actionable
Always include lead contact details
Copy and paste ready and just edit the “your brand”:
Save the Action
Click Save Action
In your duplicated [TESTING] workflow → click Publish
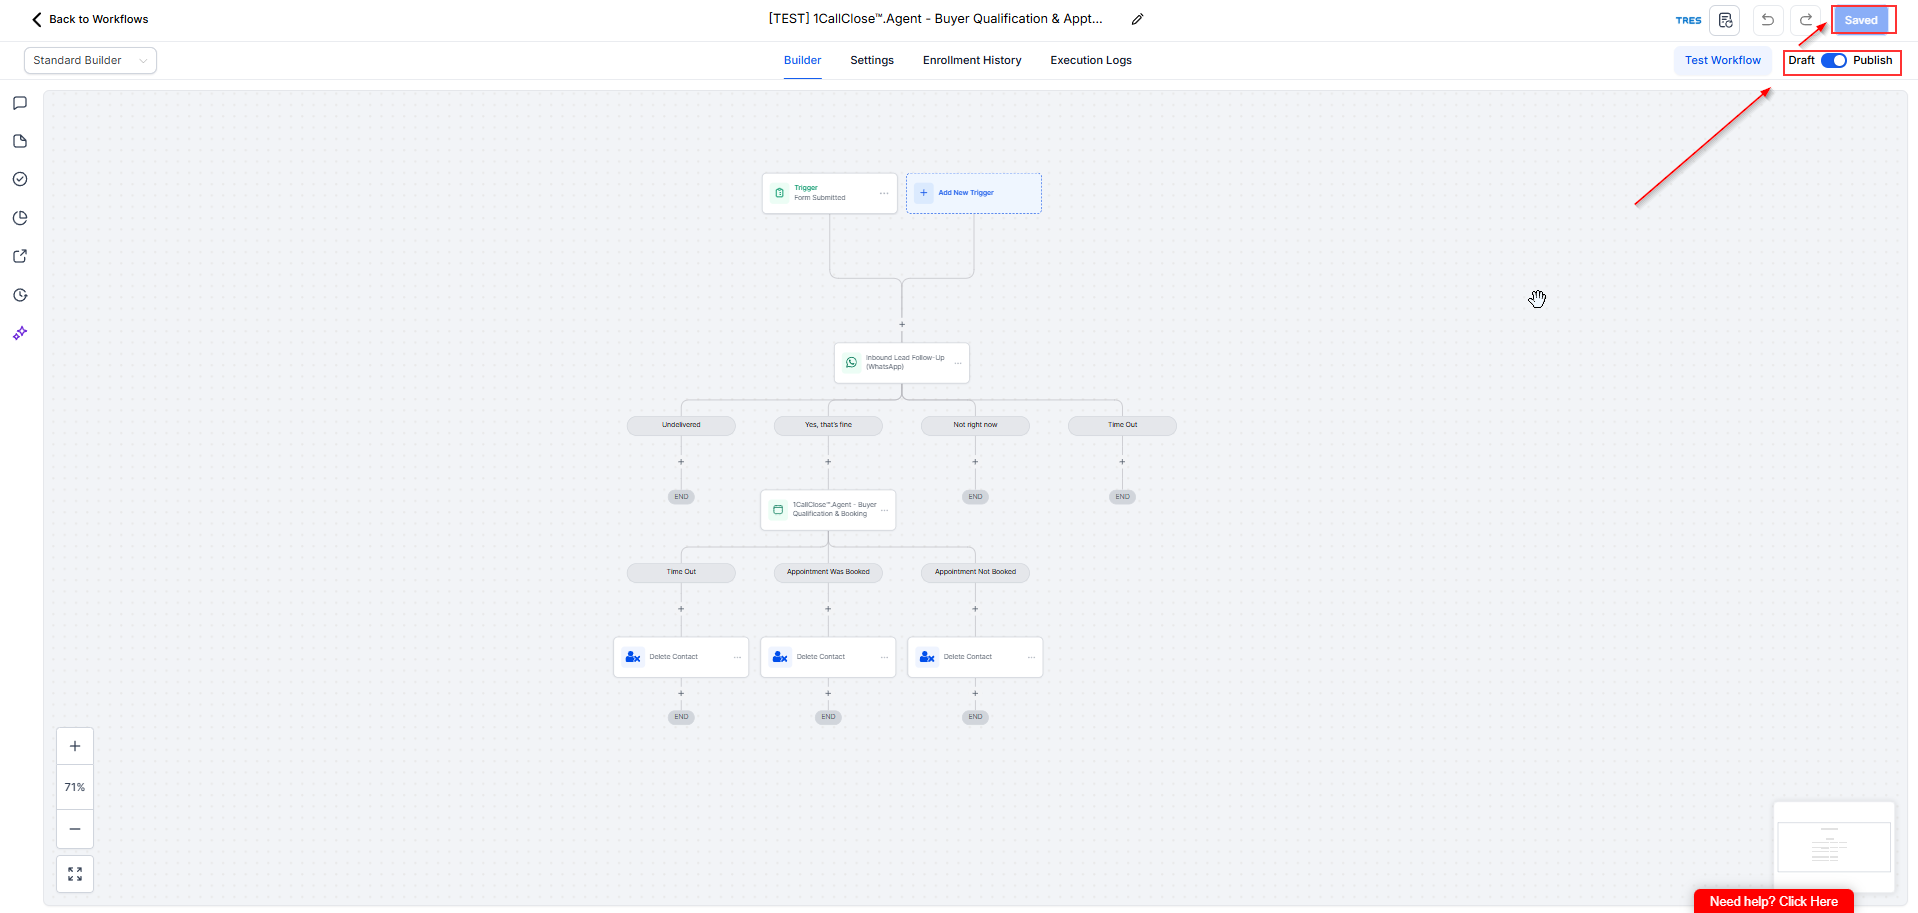
Why must the trigger be filtered to a TEST form?
So the AI only fires when you submit the TEST form—this prevents accidentally messaging real leads while you’re still testing.
What’s the exact filter I should use?
Inside the duplicated TEST workflow → Trigger: Form submitted → Filter:
Form is → [TEST FORM — NOT LIVE] 1CC AI Booking Test Form (or your test form name).
What happens if I publish without the TEST form filter?
It can message real leads unintentionally. The guide’s rule is clear: if this filter isn’t set, STOP and fix it before publishing.
I selected the wrong calendar—what breaks?
Bookings can go into the wrong schedule (wrong person / wrong availability). Always select the correct calendar inside the Buyer Qualification & Booking action.
Where do I control what the AI asks/says (qualification, objections, booking rules)?
In the AI action’s Additional Instructions (most important field). You can generate this fast using Jia Li’s Custom GPT, then paste it into Additional Instructions.