IMPORTANT: Dedicated sending domains are only applicable to the users in the LC Email system. |
What is a Dedicated Sending Domain?
A dedicated sending domain allows you to send emails that appear to be coming from your brand, which can help you maintain a better reputation with email services. Any sub-account or agency can create a dedicated sending domain, and it's quick and easy.
By default, all emails sent from our platform will show the name of our email-sending servers in the "sent on behalf of" or "sent via" email headers:
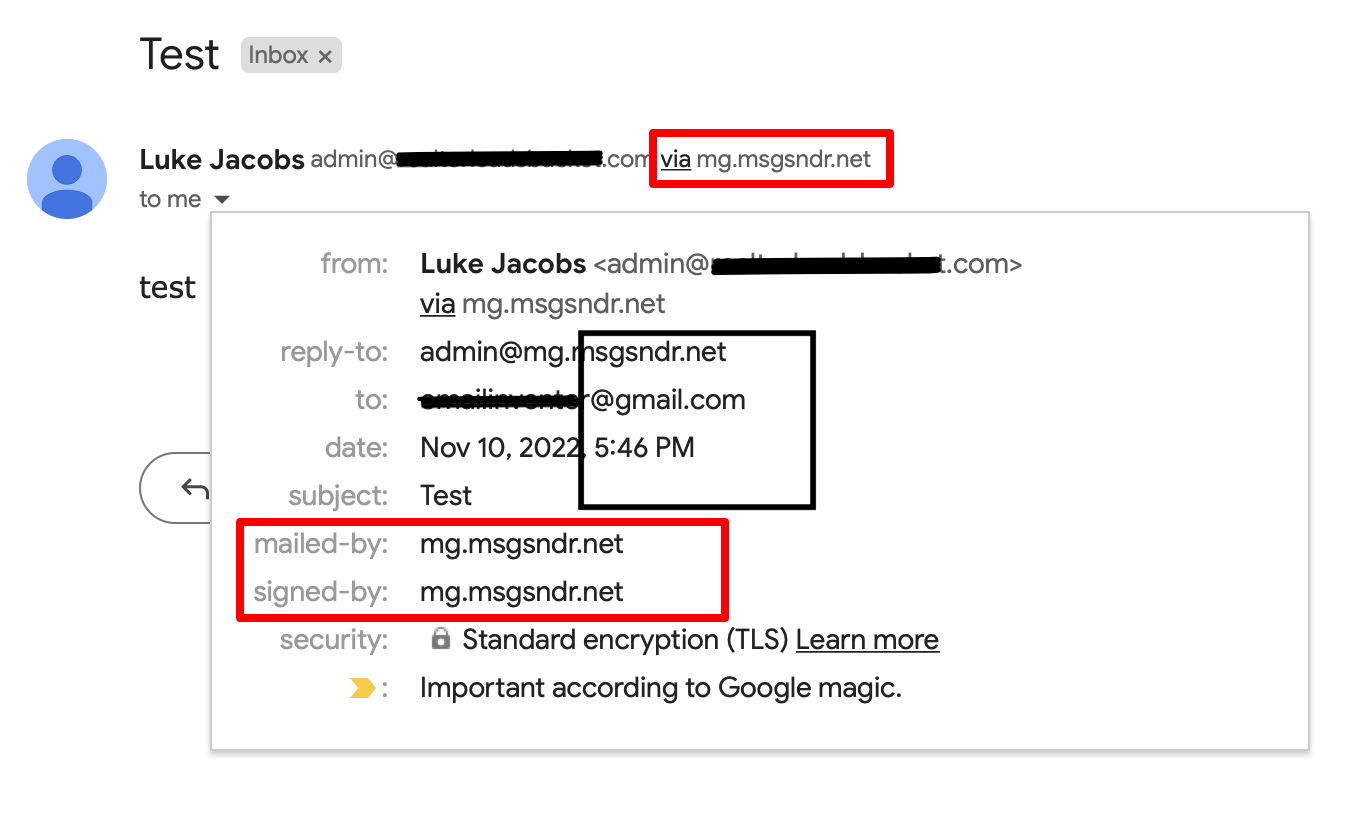
You can create multiple sending domains under your account and use different domains for different email-sending actions such as 1-to-1 emailing, emails sent from workflows, marketing campaign emails, and Payment and Invoices emails.
Navigate to Settings > Email Services
Click the "Dedicated Domain and IP" button.
Click the "Add Domain" button to begin configuring your sending domain.
Enter the sub-domain you want to use for your dedicated sending domain.

What is a Sub-Domain?
Sub-domains are variants of your root domain.
For Example: If you wanted to use the root domain "agency123.com" to send emails, you an create sub-domains such as "emails.agency123.com" or "no-reply.agency123.com", and use these sub-domains in different communication or marketing campaigns.
You can create as many sub-domains as you like by adding unique words in front of the root domain and then configuring the DNS records in your hosting provider settings.
Once you've added your sub-domain, you will need to verify your DNS records. You will have the option to either allow Intellia to auto-configure your DNS records, or enter your DNS records manually.
If Intellia is unable to automatically configure your DNS records, you will need to add them manually.
REMEMBER: The propagation process can take up to 24 hours. If it has been longer than 24 hours, please double-check your DNS settings by following the process above. |

To add your DNS records manually, you will need to create the DNS records in your hosting provider's dashboard where you manage your domains. You will be given specific information from Intellia, like the information you see in the screenshot below, that you will use to create your DNS records.

While setting up your dedicated sending domains, you may run into some issues that can be resolved without reaching out to the Intellia support team. Below are some common issues that you may be experiencing when setting up your dedicated sending domains.
Error Message Reading: 'Domain already pointing to email server!'
You may see an error message that is claiming your domain is already pointing to an email server. This means that your email domain already has DNS records connected to a different service, and you will need to disconnect the domain before you can connect it to your Intellia account.
Any MX or SPF records, even if they are Intellia records, will cause the system to reject the domain, so we will need to remove them.
You can look up the domain MX and SPF records using various tools across the internet. The following link is a free tool that can help you with MX and SPF lookup: https://mxtoolbox.com/SuperTool.aspx