Step 1 : Login your Intellia Account, Using this link : app.theintellia.com
Step 2 : On the dashboard, you'll see a left menu bar.
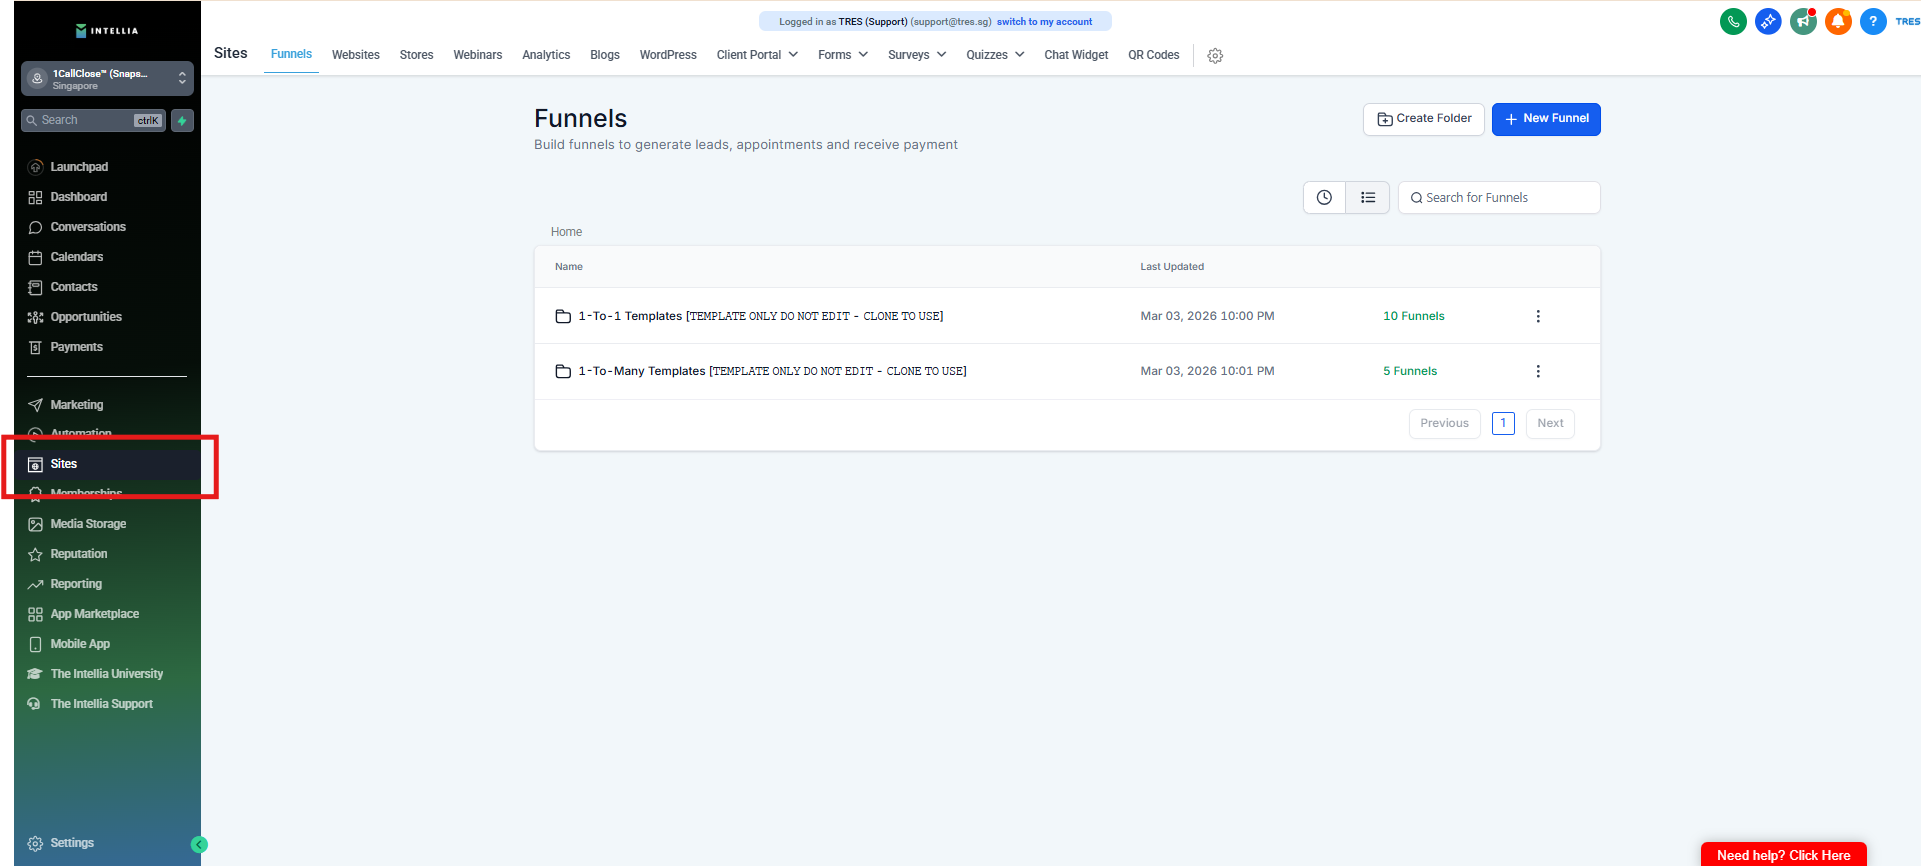
Step 3 : Click Sites.
Step 4 : On top Menu bar.
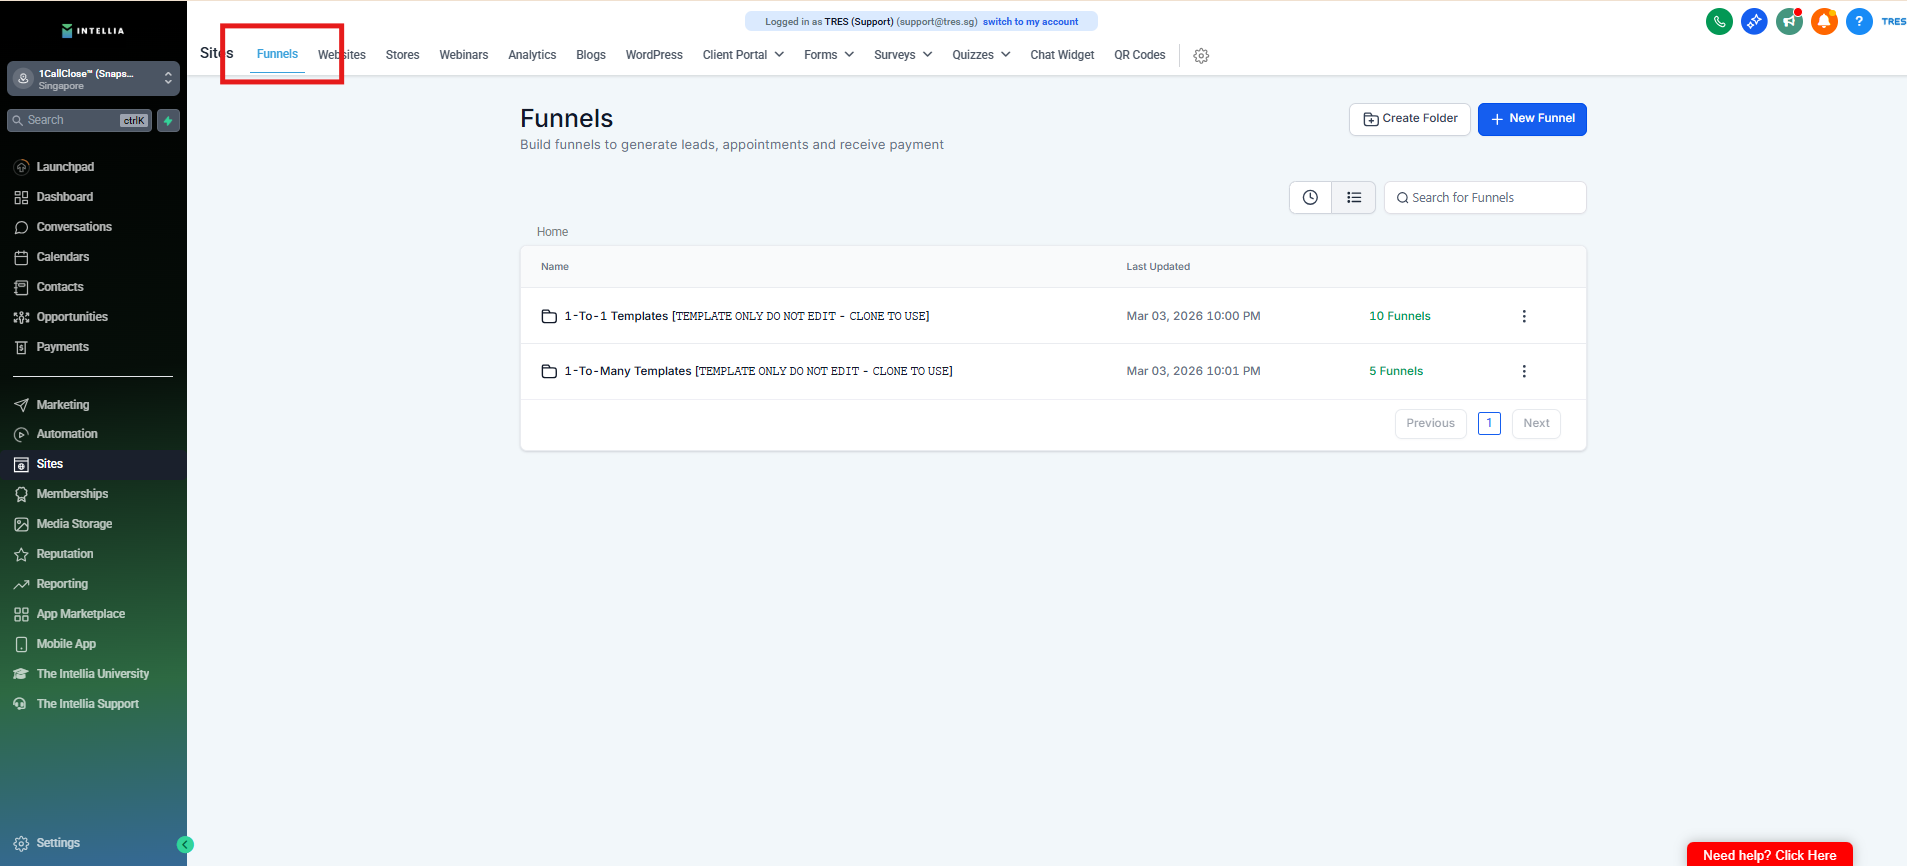
Step 5 : Click Funnels.
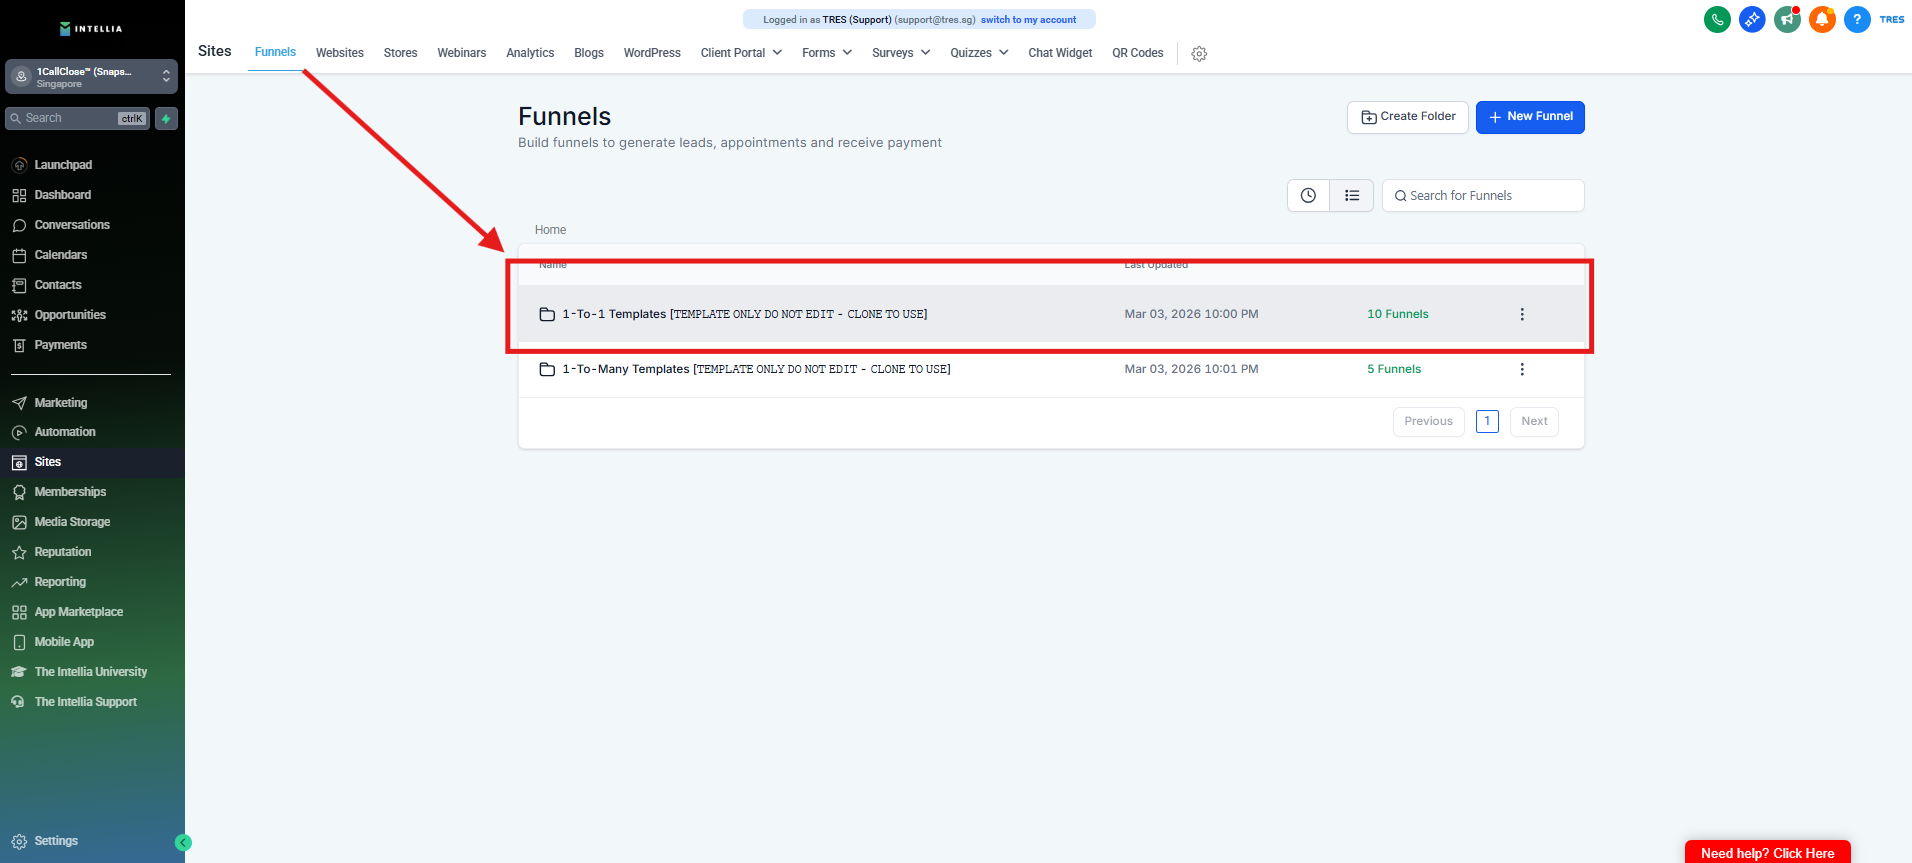
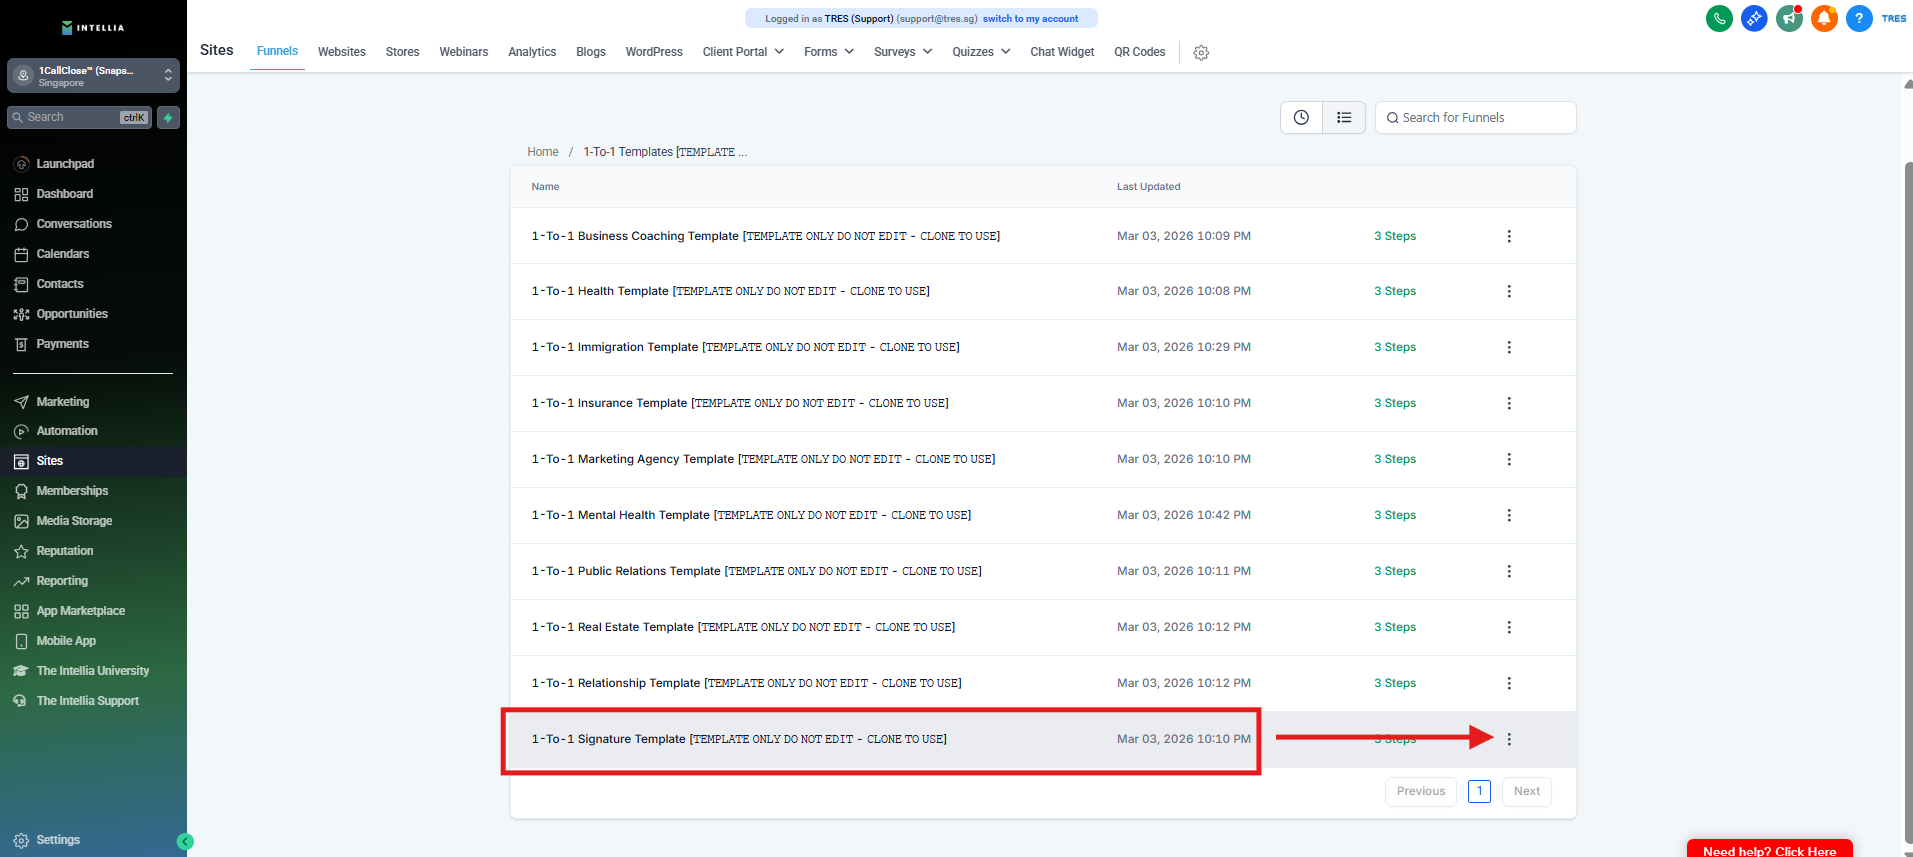
Step 6 : In the content area, you'll see "1CallClose™ Signature Template [𝚃𝙴𝙼𝙿𝙻𝙰𝚃𝙴 𝙾𝙽𝙻𝚈 𝙳𝙾 𝙽𝙾𝚃 𝙴𝙳𝙸𝚃 - 𝙲𝙻𝙾𝙽𝙴 𝚃𝙾 𝚄𝚂𝙴]"
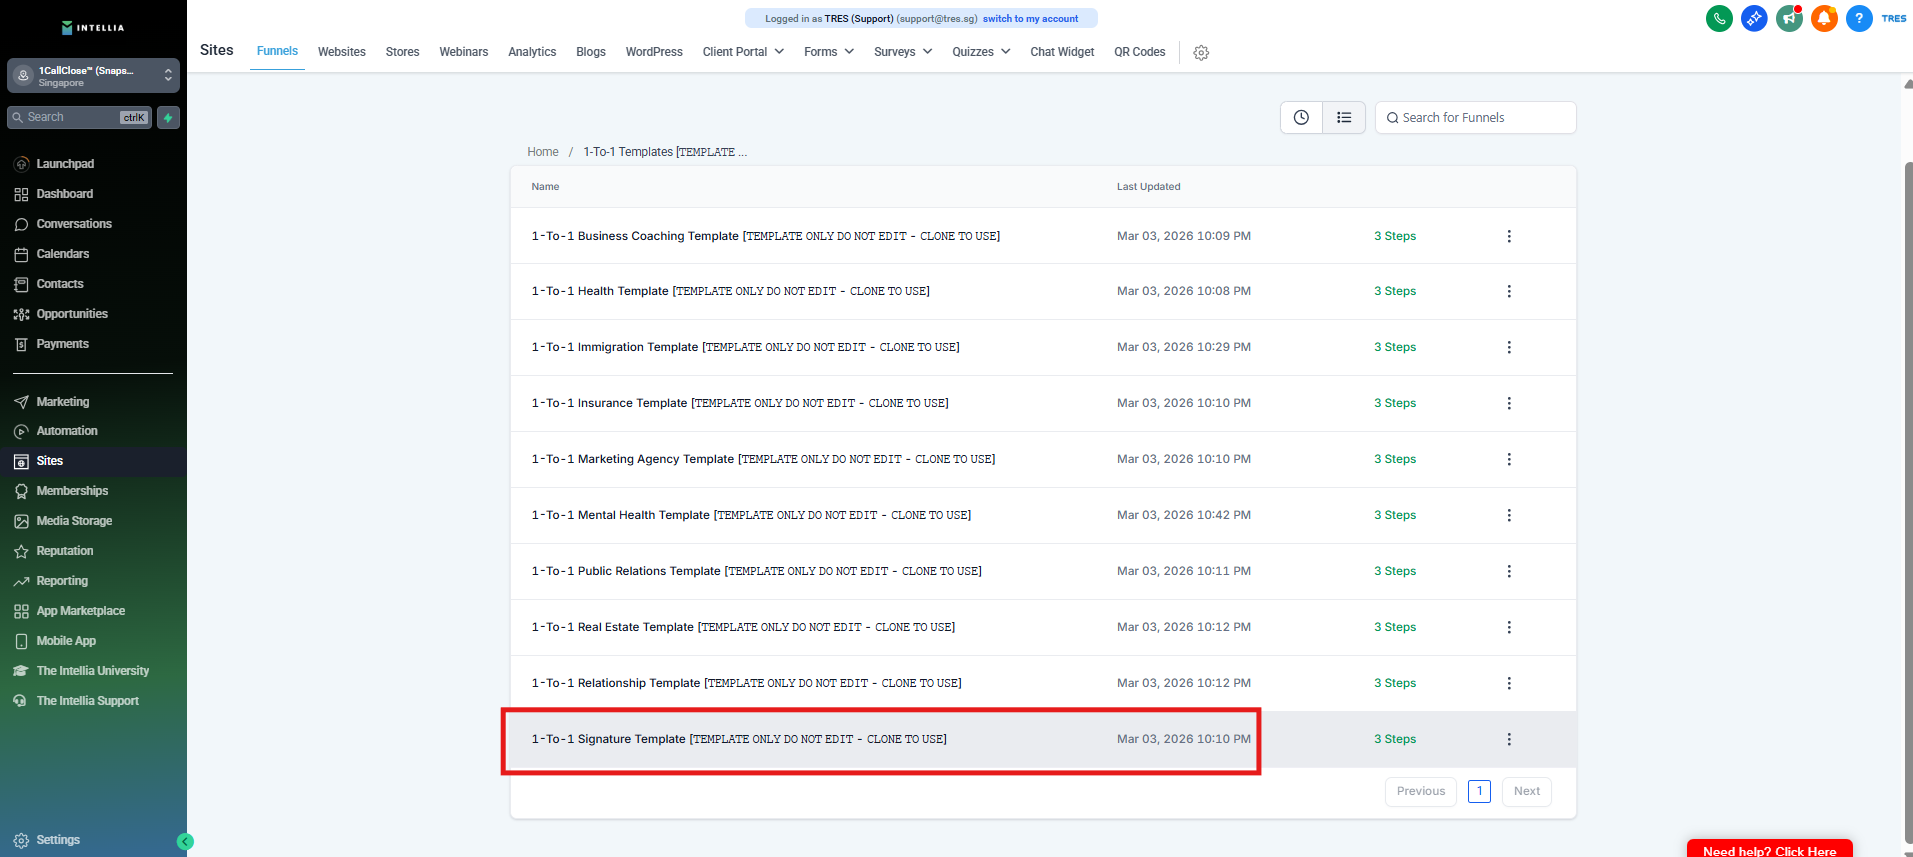
Step 7 : Hover your cursor to the right, click on the 3 little dot.
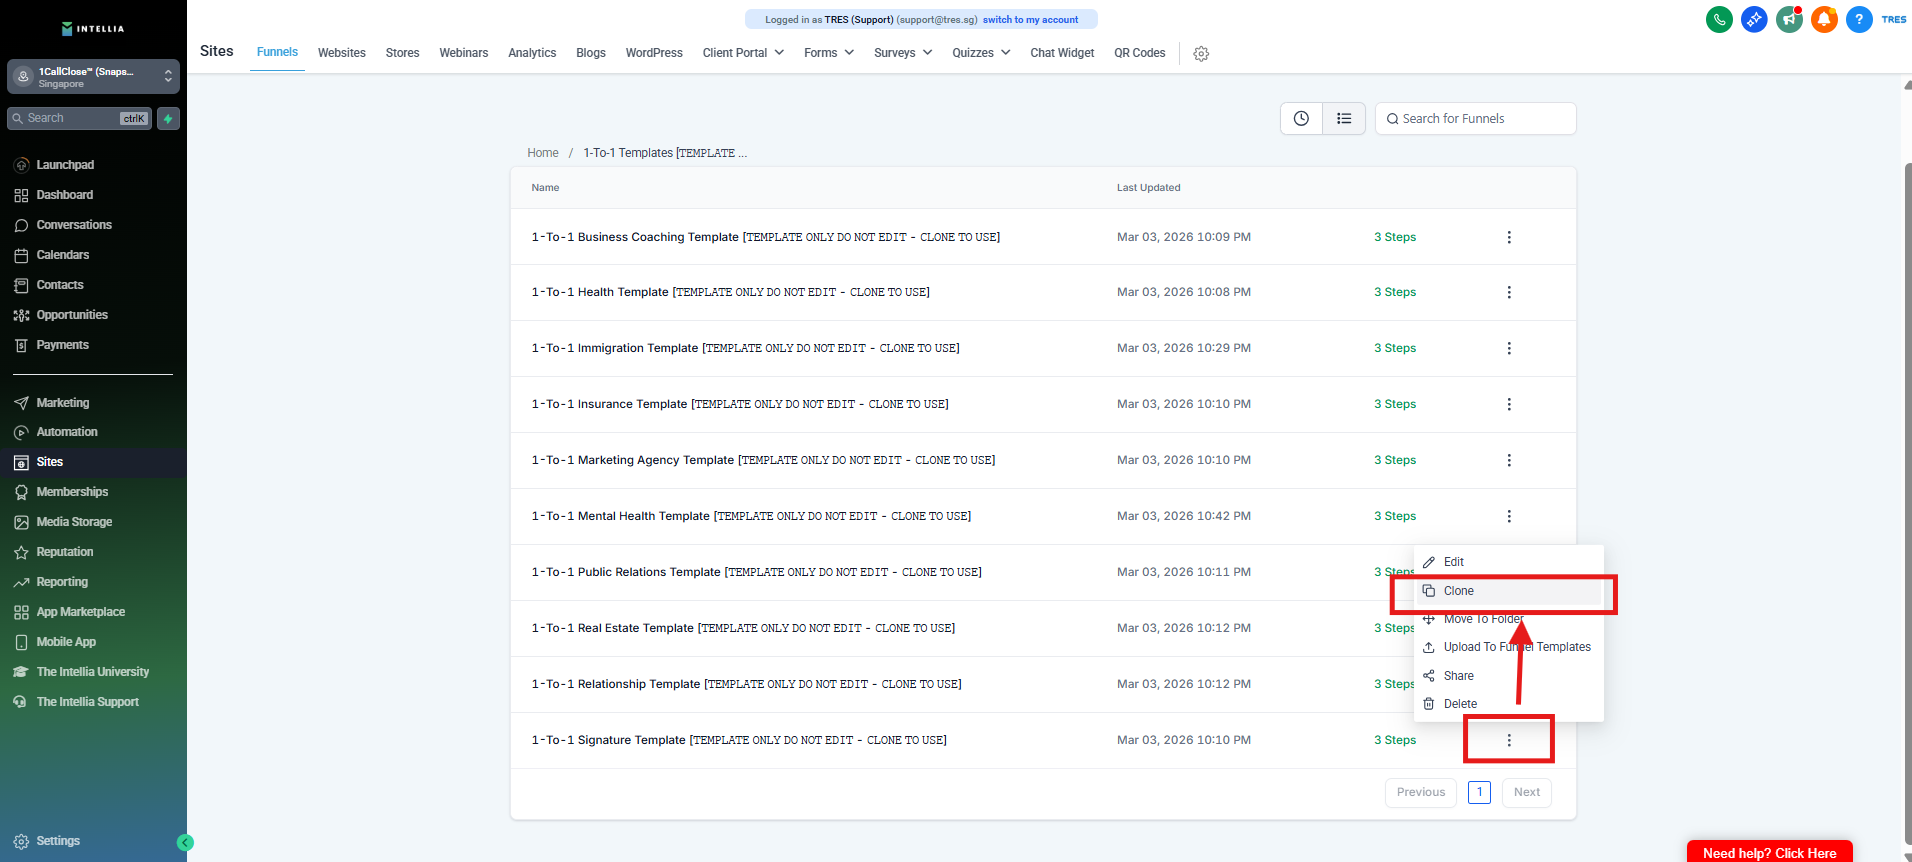
Step 8 : Click Clone.
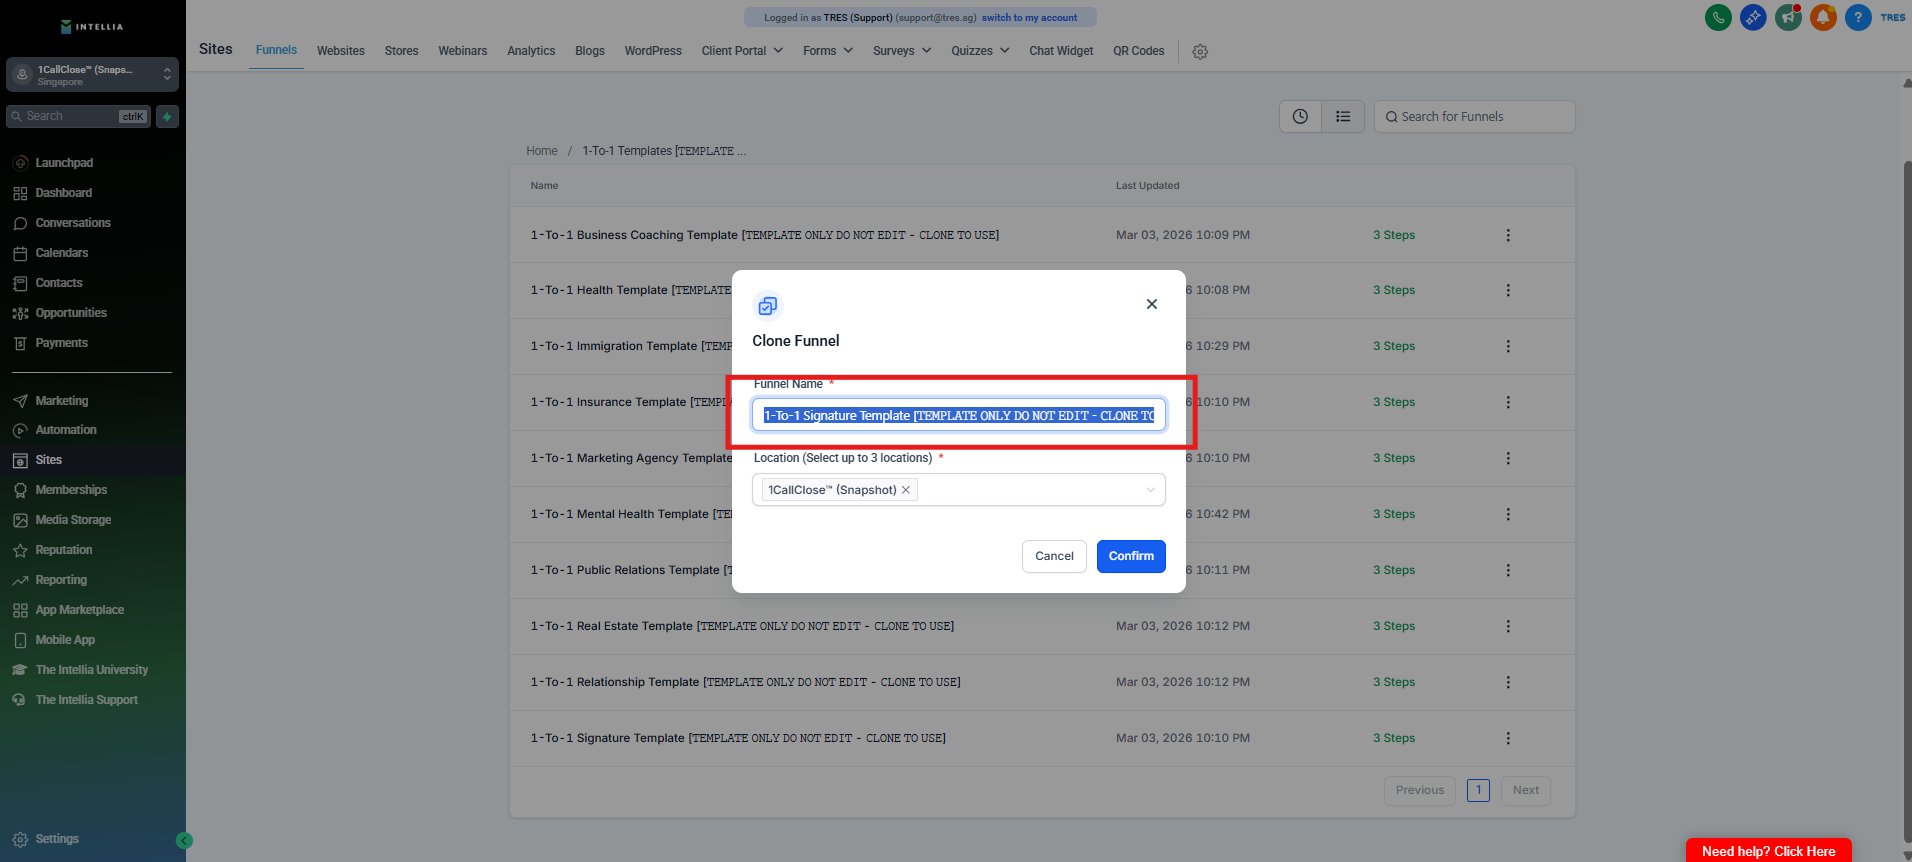
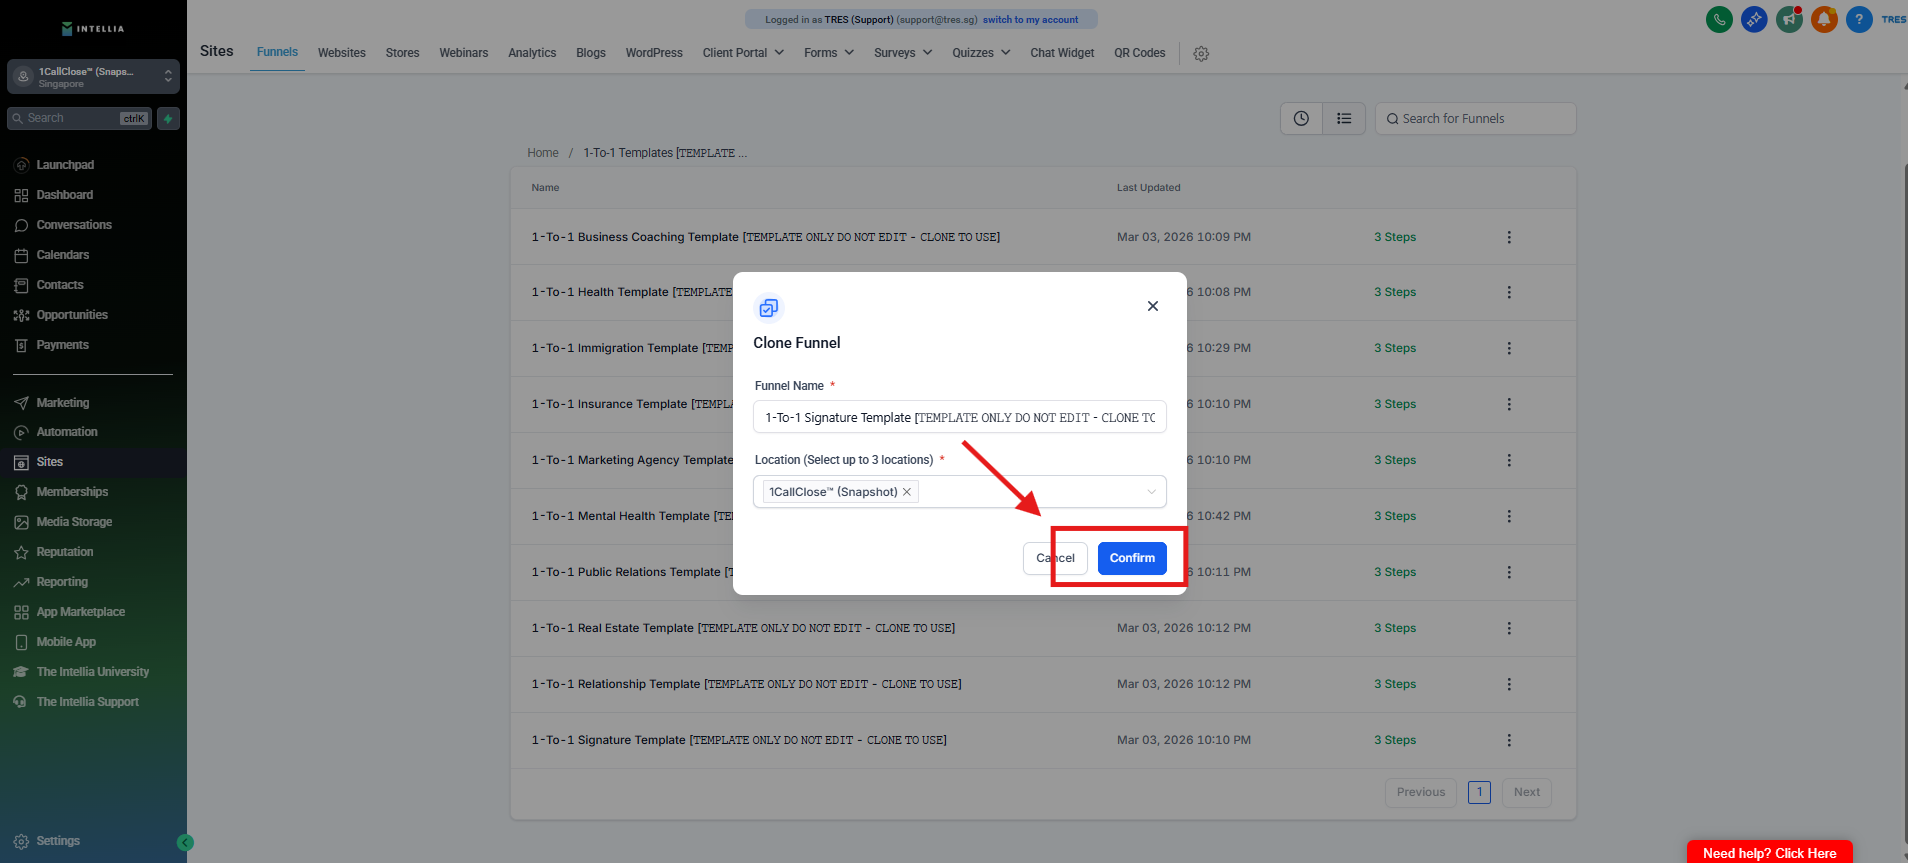
Step 9 : Edit the Funnel name accordingly.
Step 10 : Once completed renaming the "Funnel Name Field"
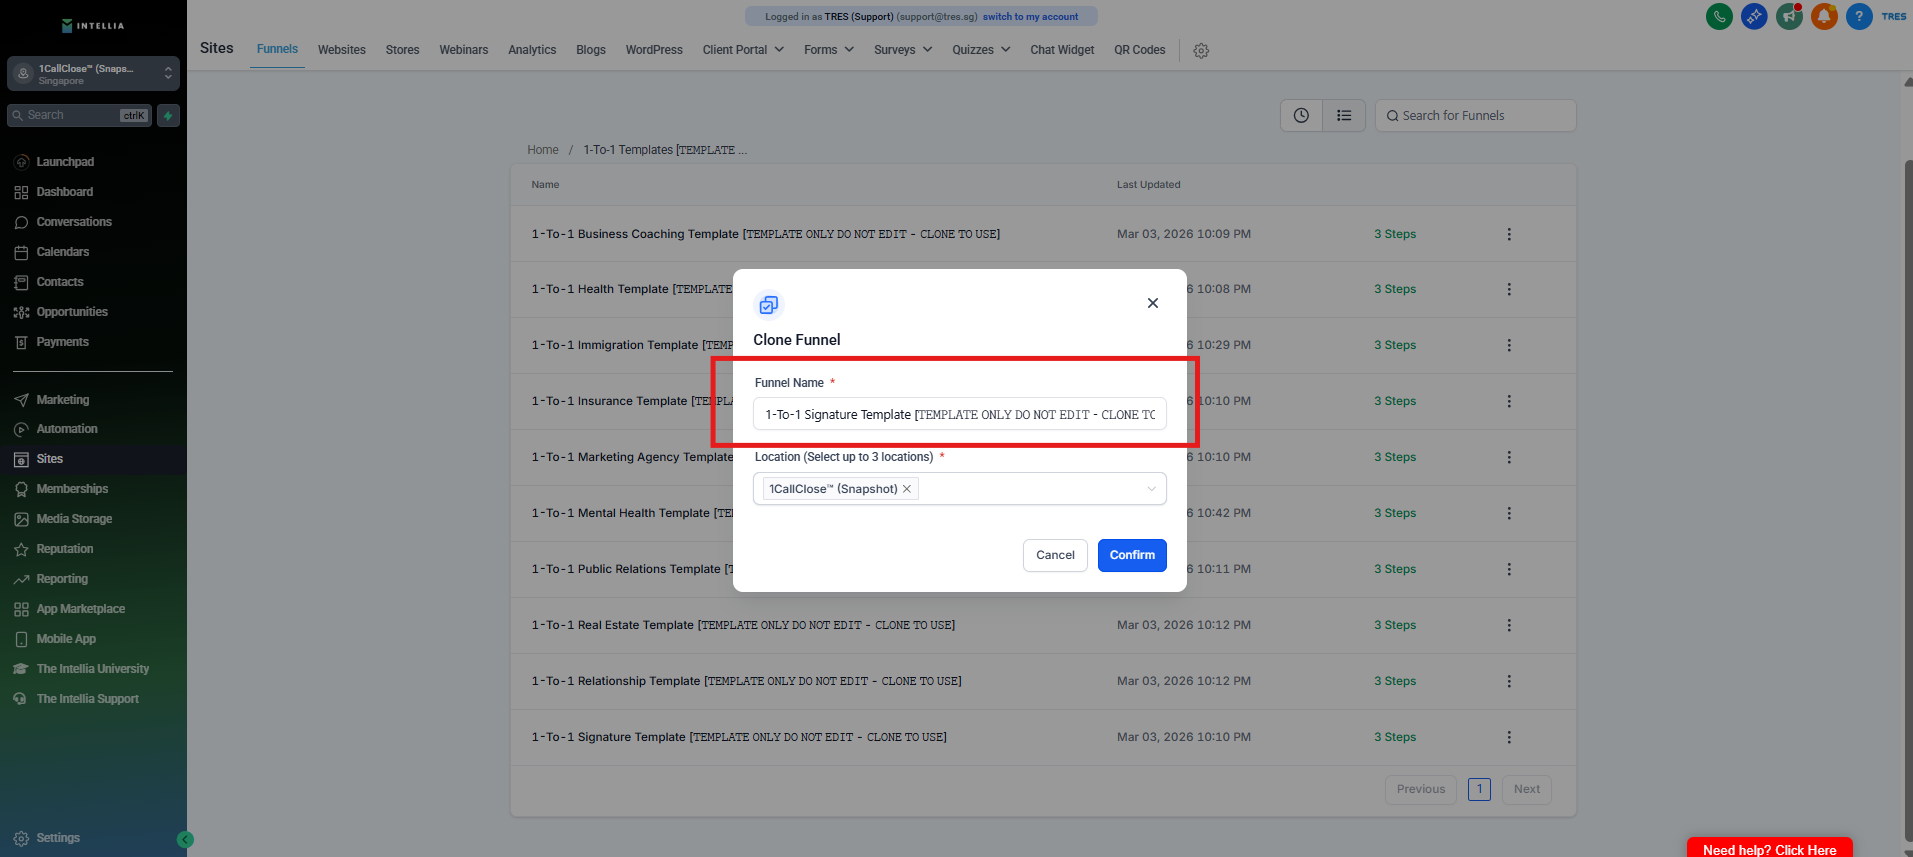
Step 11 : Click "Confirm".
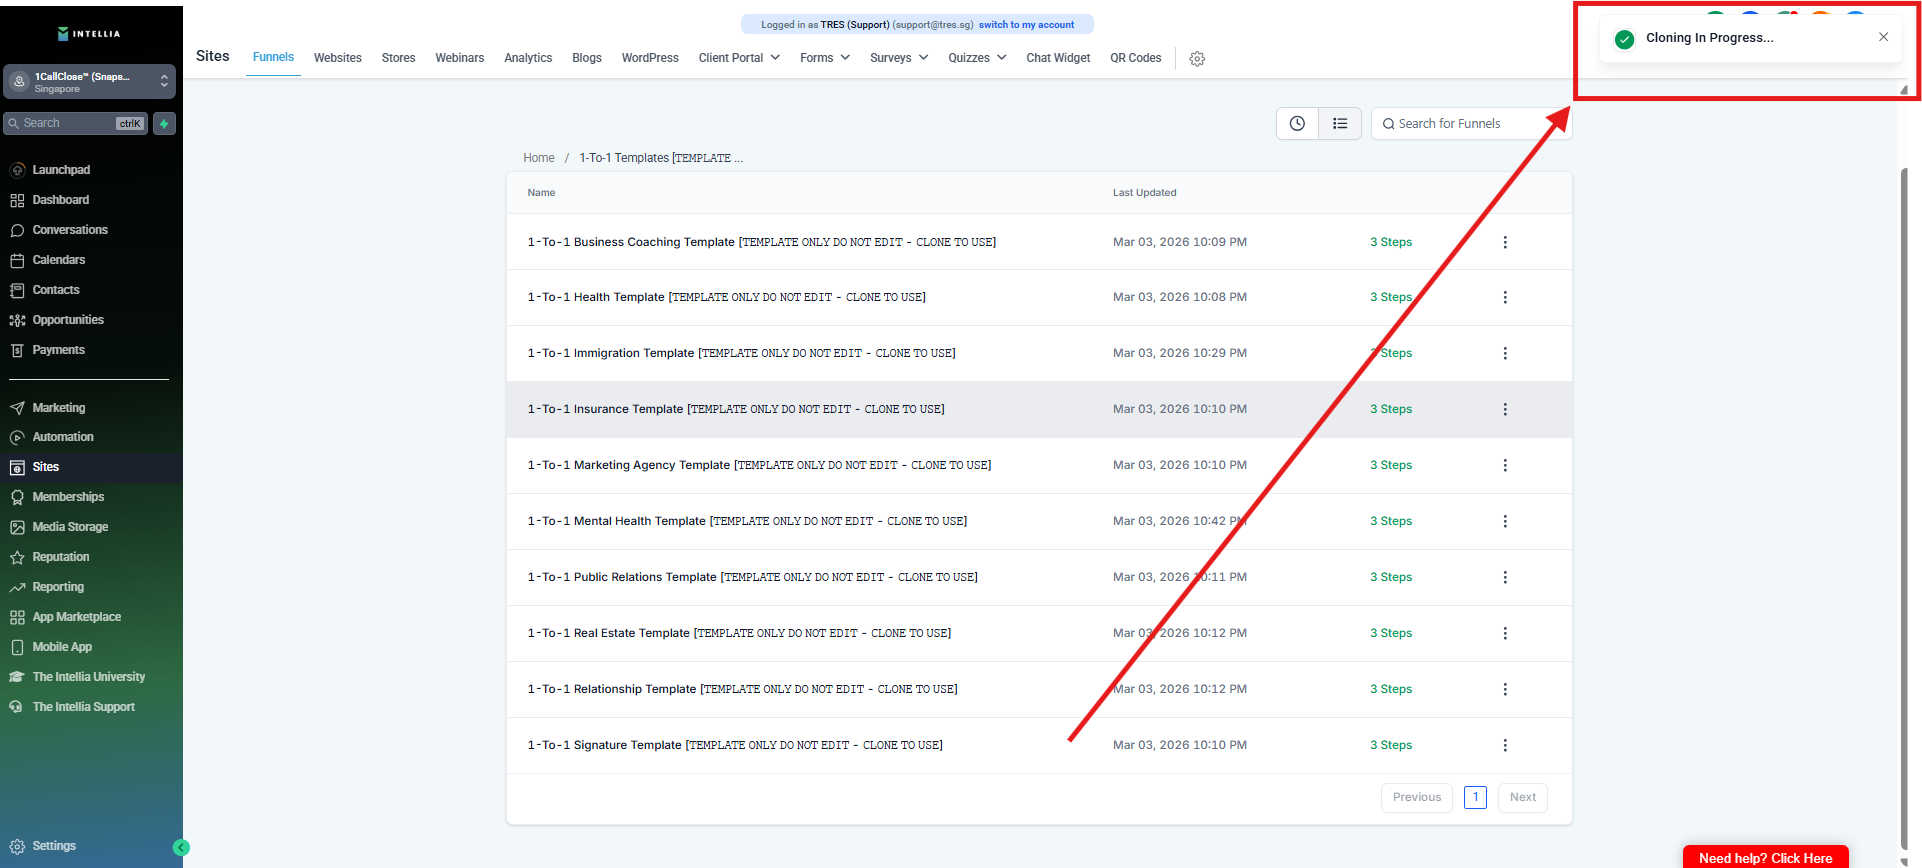
Step 12 : On the top right corner, you'll see a notification that the Funnel Page is In-progress.
You can refer to this article on how to purchase the domain :
Click this link to be directed to another site.
Step 1: Go to Settings > click the "Domains"
Step 2 : click the"+ Add" then add your domain name > once you added, you will having the DNS Record
Step 3 : you will add the DNS Record to your Domain provider (example : GoDaddy, CLDY, Cloudflare, Google Domain etc.)
Step 4 : once added the DNS Record to your Domain Provider
Step 5 : kindly go back to your Account > Go back to the Sites > click the Funnel > click the 1 Call Close Funnel You Clone > on the Funnel Builder, you will see the Settings
Step 6 : click the Settings > then select the Domain.
Step 7 : then Save.
What is Stripe?
Stripe - is an integrated payment gateway that allows users to manage and process payments directly through the platform. By connecting a Stripe account to Intellia, users can set up one-time and recurring payments, create products, handle invoices, and track transactions, all within the CRM. This integration is especially useful for the businesses offering paid services, courses, or subscriptions, as it streamlines payment processing and automates billing for clients.
Step 1 : Go to Payments.
Step 2 : click the Integrations
Step 3 : Find the Stripe > click the Connect.
Step 4 : once added the Stripe Account, it will see the Stripe that says Connected.