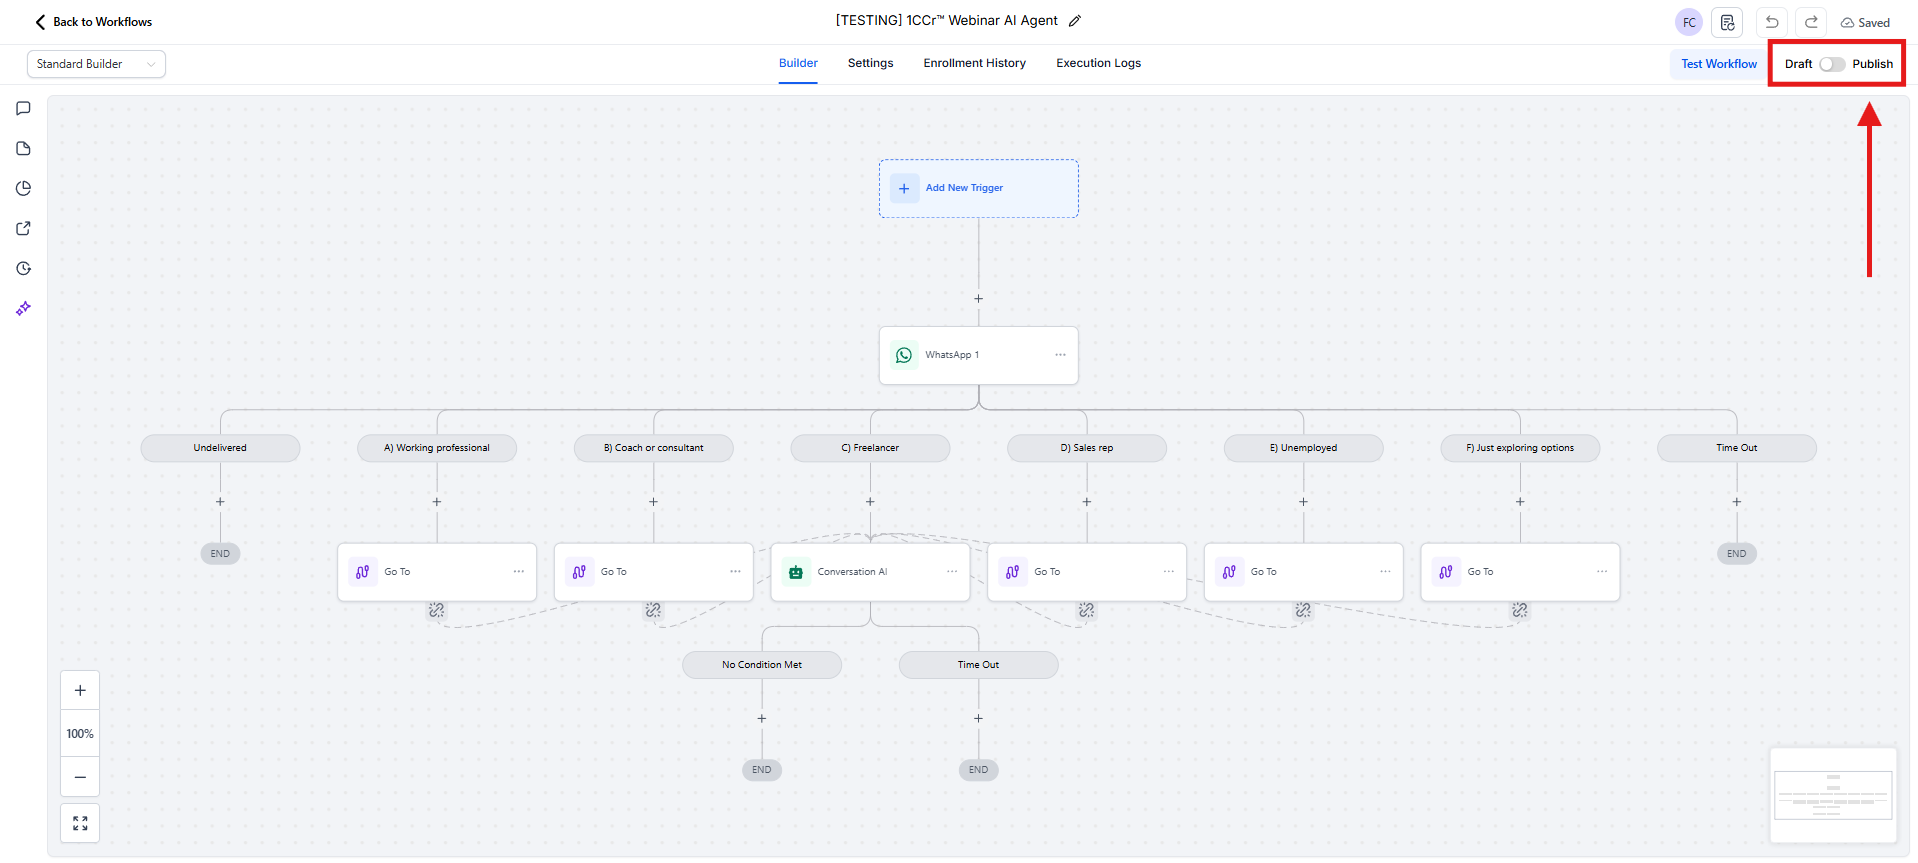
Go to Workflows inside your Intellia account
Locate the workflow named:
[TESTING] 1CCr™ Webinar AI Agent
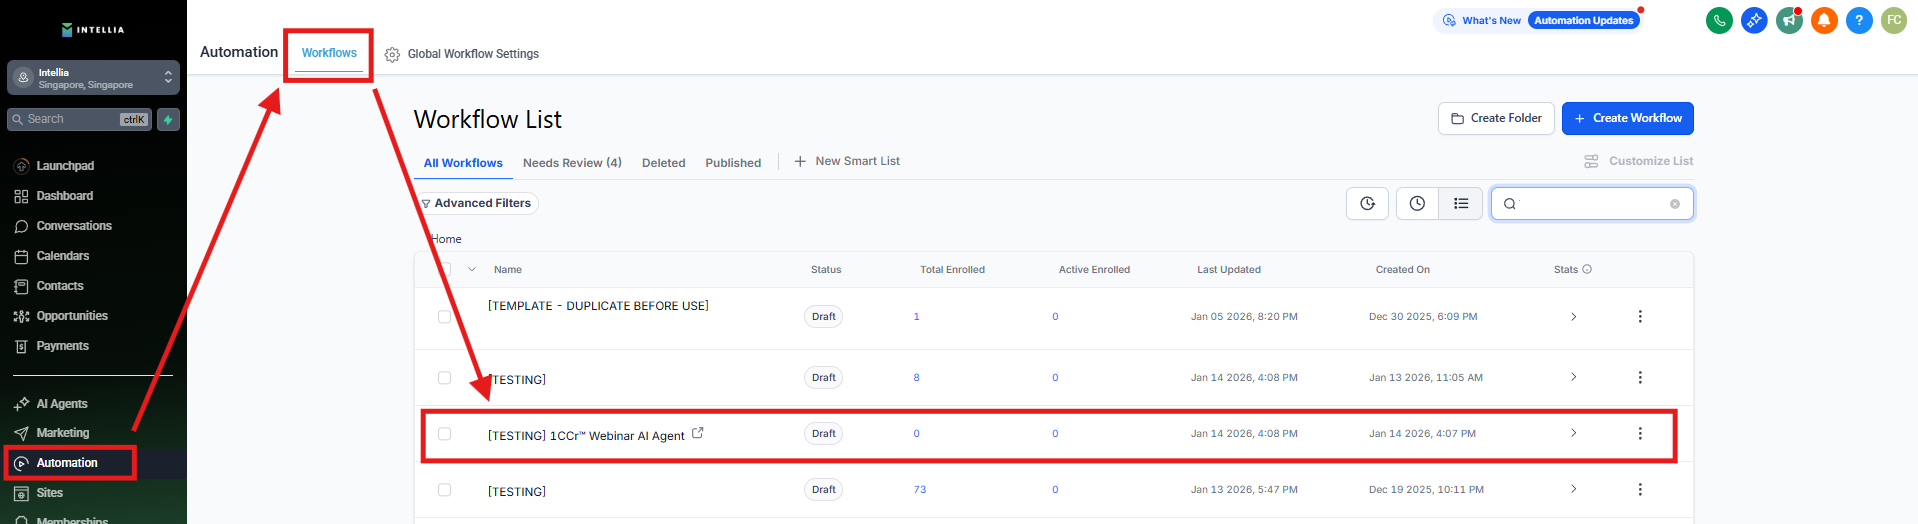
Duplicate the workflow
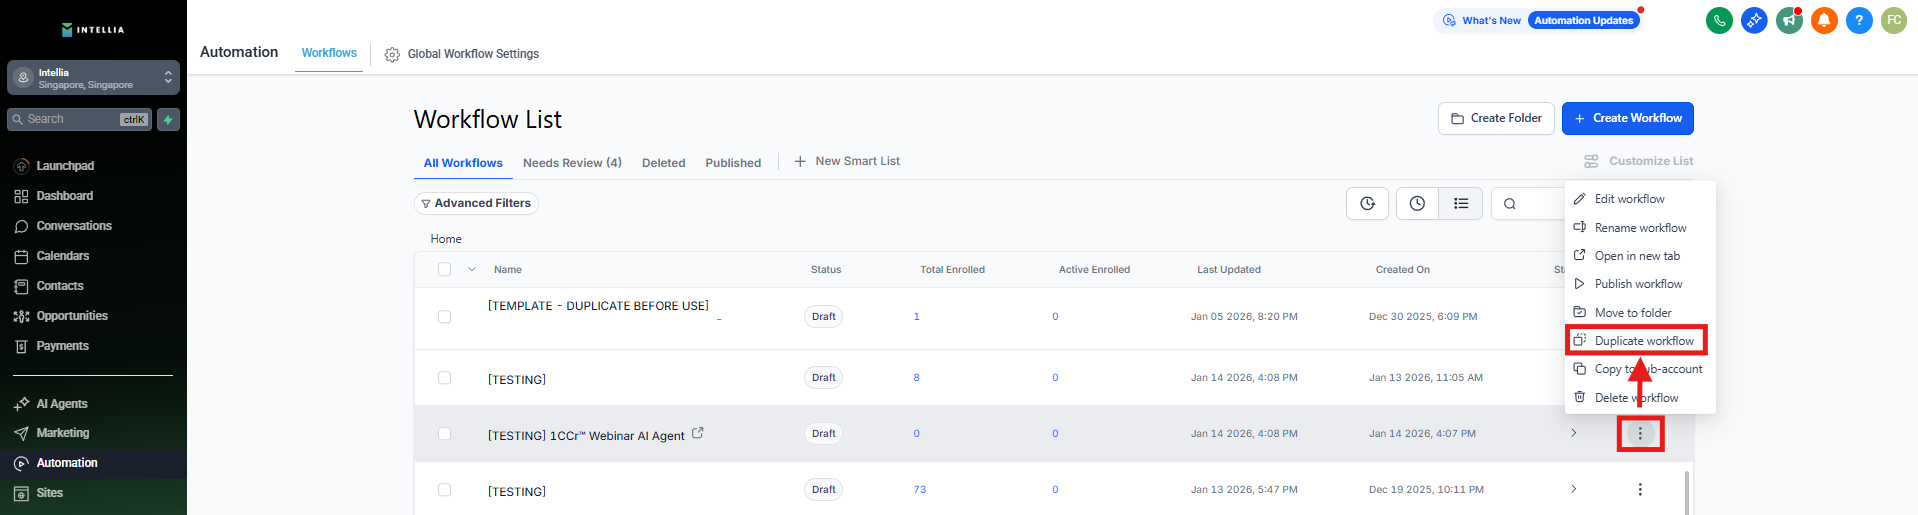
Rename it so it’s clearly your test version
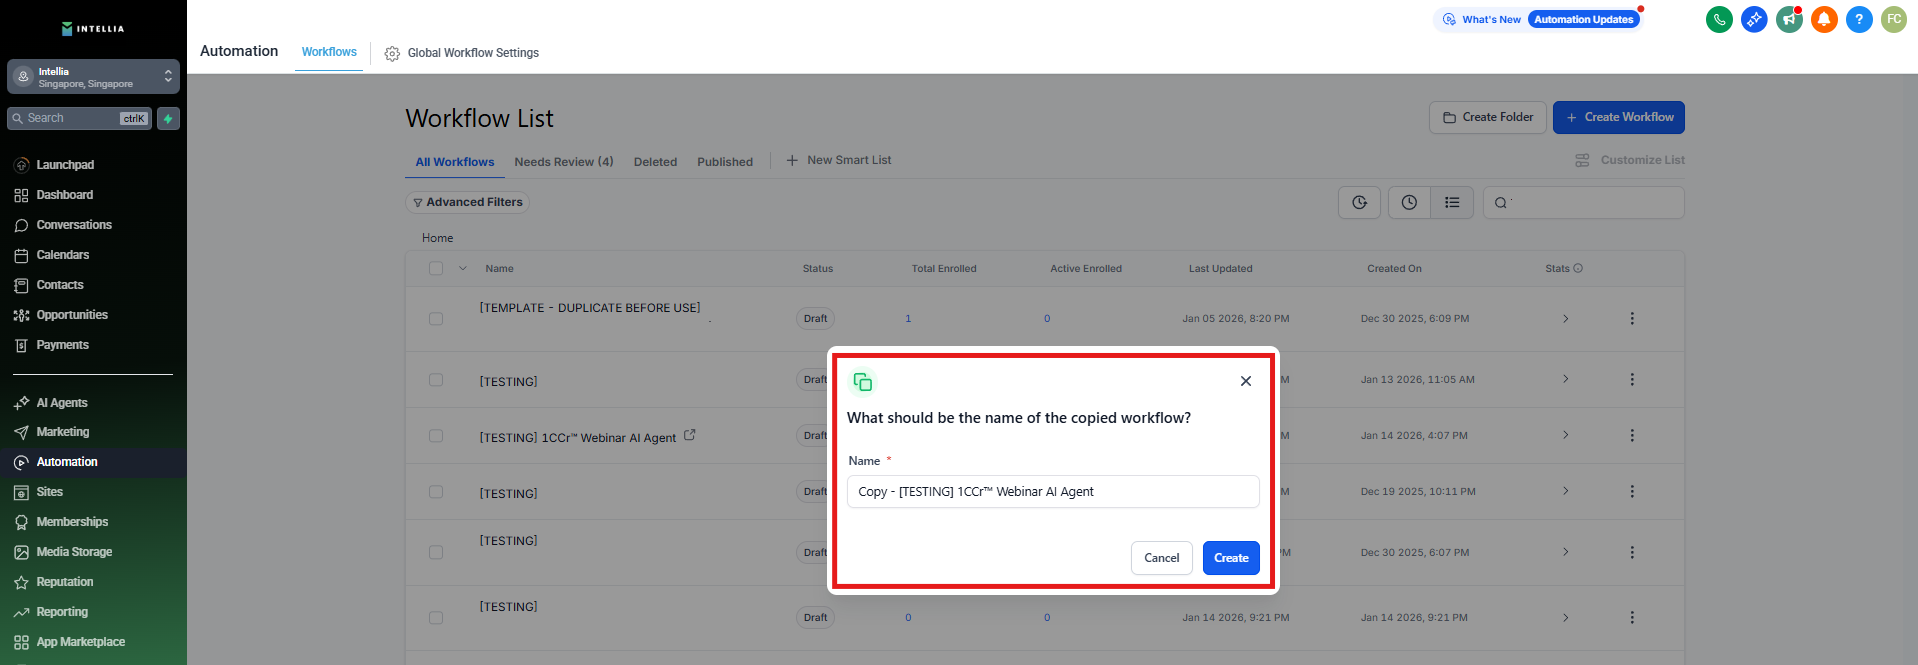

This ensures your AI is triggered only by a test form.
Create a test opt-in form
Recommended name:
[TEST FORM — NOT LIVE] 1CC AI Test Form
Form guide (if needed):
https://info.theintellia.com/en/articles/33-how-to-create-a-form
Once created:
Open your duplicated workflow
Go to Trigger: Opt-in
Add filter:
Form is → [TEST FORM — NOT LIVE] 1CC AI Test Form
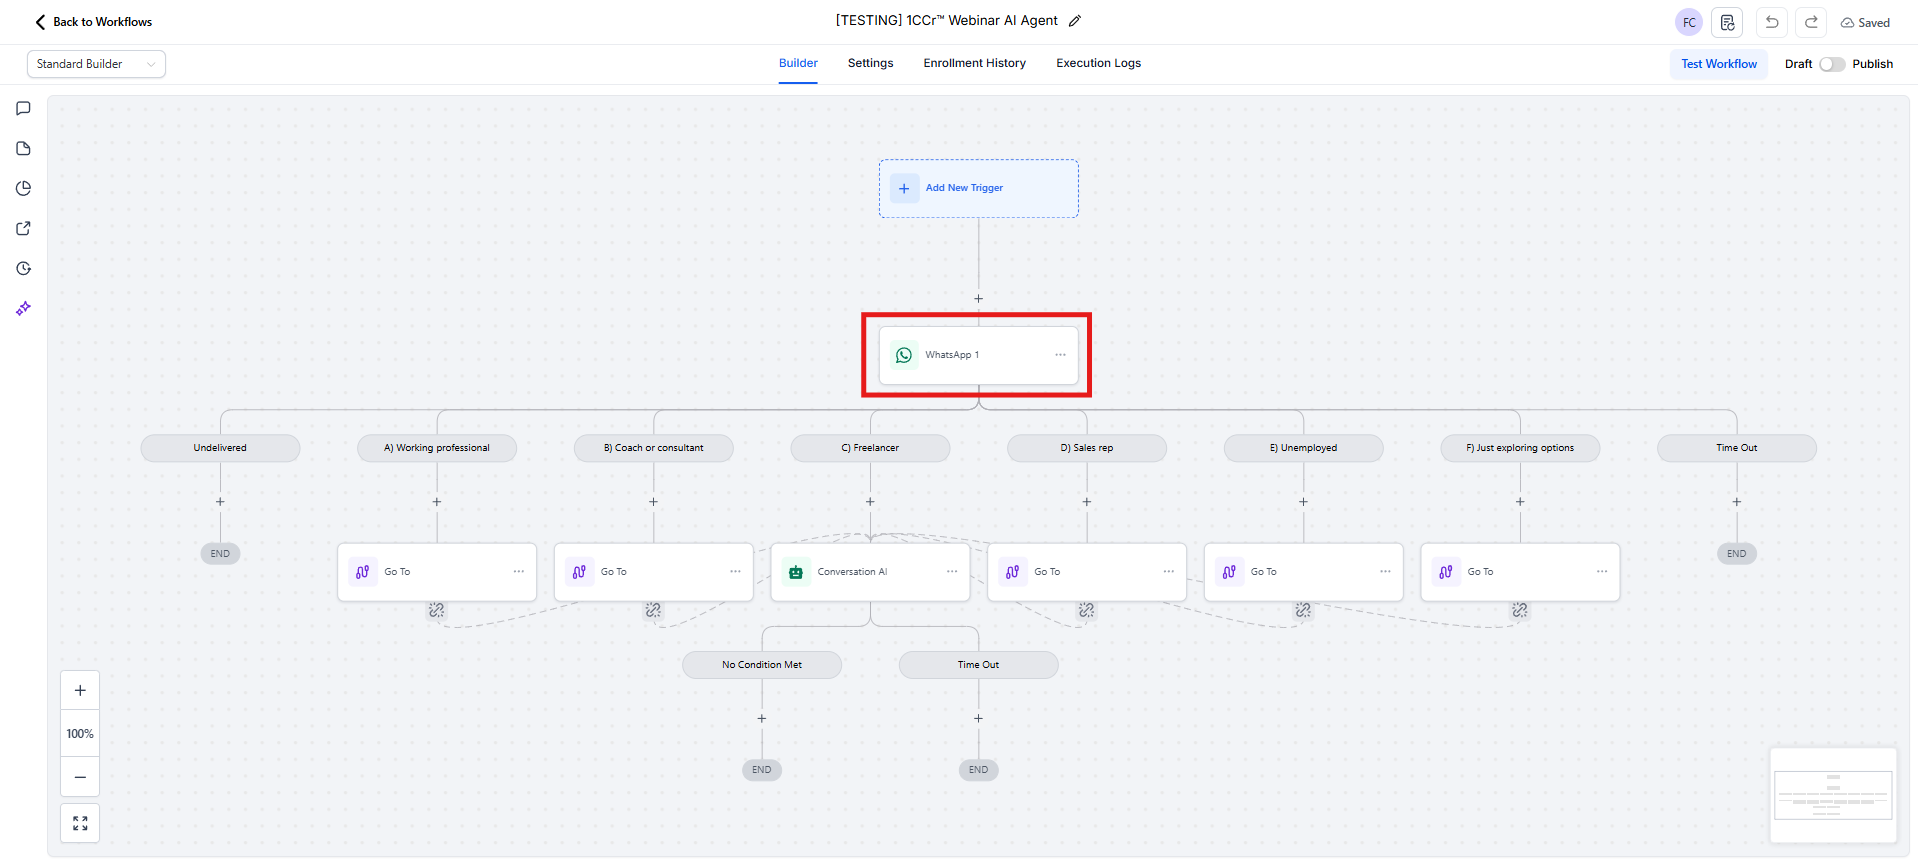
Inside the duplicated workflow, locate the action:
WhatsApp 1
Select WhatsApp Template
Choose the welcome template you created in Step 2.
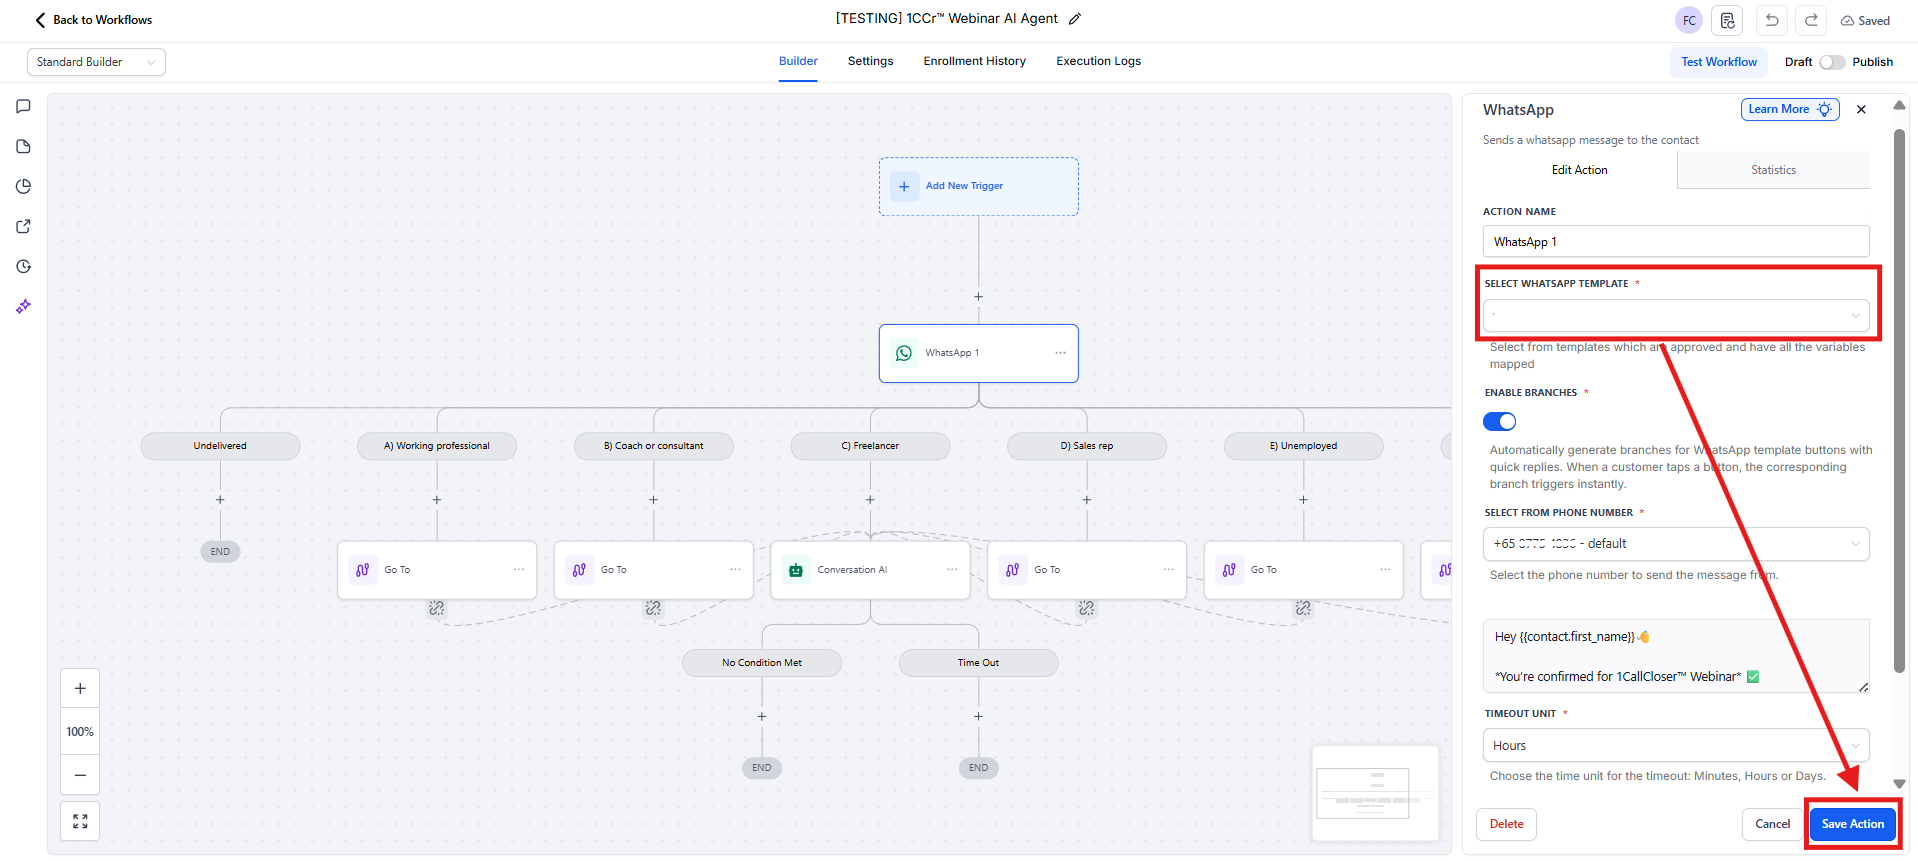
✅ This is the first message your lead receives — make sure it feels natural and aligned.
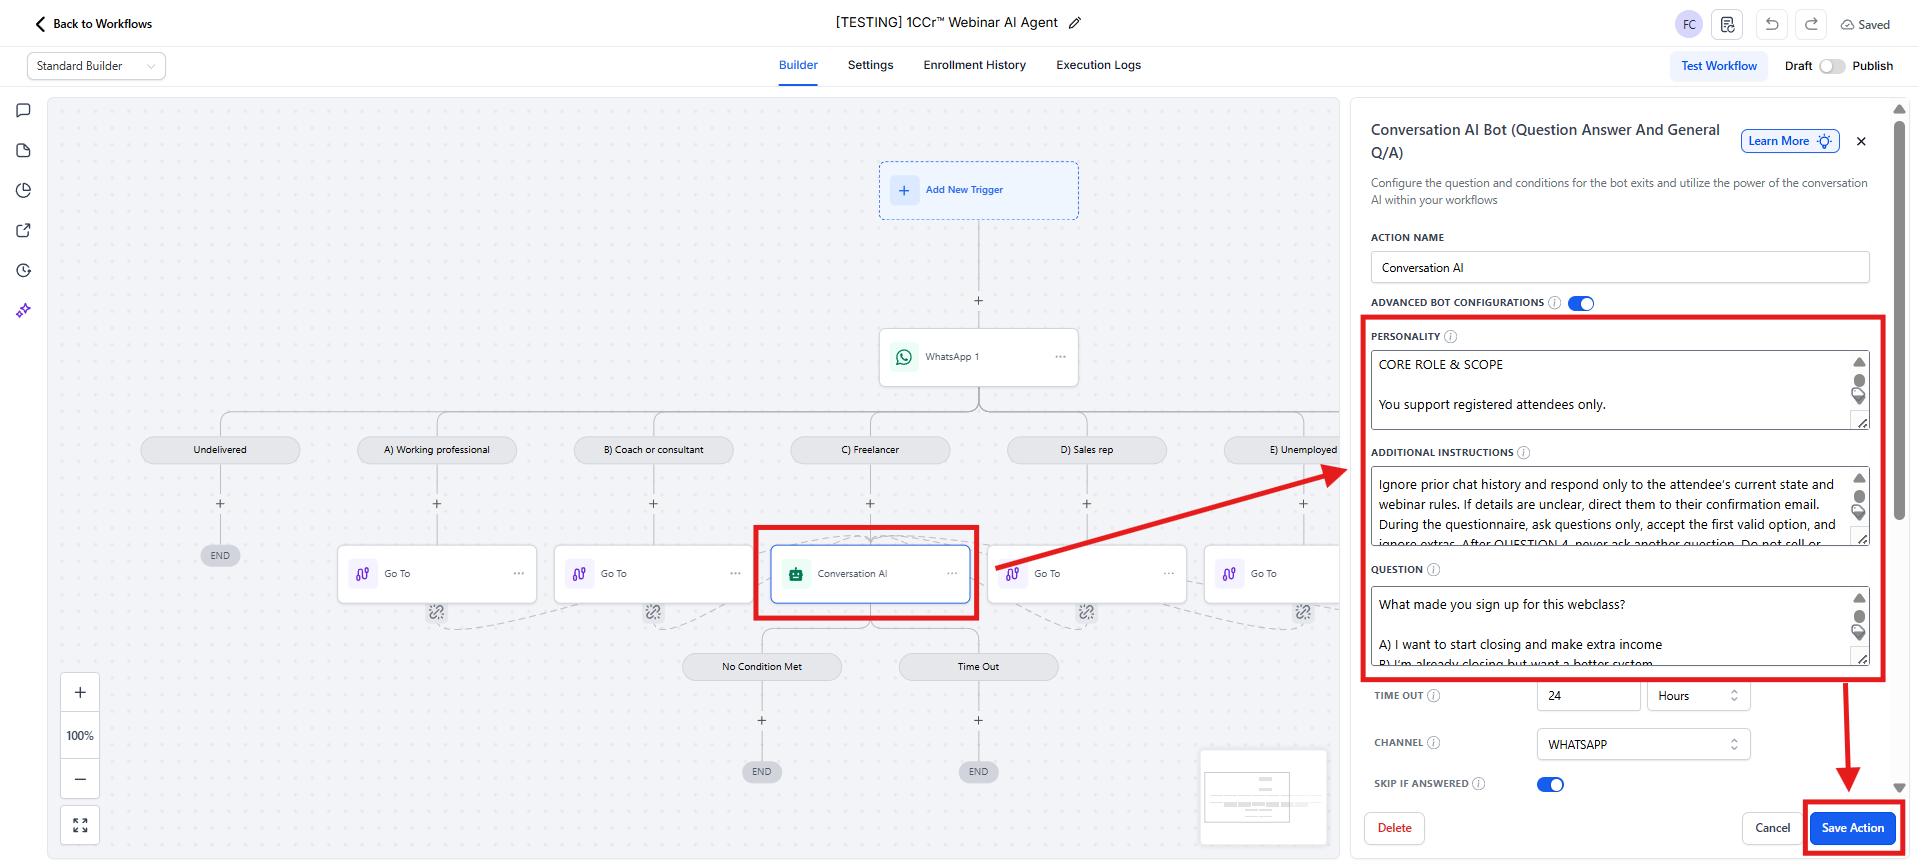
Open the action: Conversation AI
Update as needed:
Personality Section
You may adjust if needed
Default prompts are already tested, so changes are optional
Additional Instructions Section
Use this to control:
Your qualification script
Questions before booking
Handling pricing / objections / scheduling / reminders
Then Save the action.
Publish the workflow
Open your test form:
[TEST FORM — NOT LIVE] 1CC AI Test Form
Click Preview
Submit with:
Real contact details
Valid WhatsApp number
Chat with the AI and confirm behavior matches your setup
✅ If it doesn’t behave the way you want, go back to Step 4, tweak, and test again.